Documentation
Looking for the REST Editing API? Click here.
Initialization
Add the following code to your application to initialize Pixo:
<img id="myimage" src="myimage.png" />
<script src="https://pixoeditor.com/editor/scripts/bridge.m.js"></script>
<script>
   var image = document.getElementById('myimage');
   var constructor_options ={apikey: 'abc123xyz000'};
   image.onload = function(){
      var editor = new Pixo.Bridge(constructor_options);
      editor.edit(image);
   }
</script>
Constructor options
The constructor accepts options parameter. Here’s a list with all options, possible values and defaults (premium options marked in this color):
- apikey (String) Required. This is your personal API key with which you can use Pixo editor. Register and get your API key
- type (String) Editor window type. Accepted values:
- “window” Pixo opens in new browser window (default)
- “modal” Pixo opens in a modal window overlaying the page
- “child” Pixo opens nested in provided DOM element, as a child; requires parent parameter
- parent (DOM element) Parent DOM element in which to inject Pixo; applicable only when mode=”child”
- fileinput (HTMLInputElement or CSS Selector String or String ID) DOM reference to a
<input type="file" />element which Pixo to observe; calls theattachToFileInputmethod in the constructor (see attachToFileInput) - width (String) Editor’s width Default “100%”
- height (String) Editor’s height Default “100%”
- overlay (Object) Whether to show overlay below the editor or not, useful when dimensions are not full-size. Can contain the color property. Default null
- color (String) The CSS color of the property. All CSS color values are valid. Default “rgba( 0, 0, 0, .3 )”
- theme (String) Choose a pre-defined color theme or skin for the editor (see list with available themes)
- styles (Object) (premium) Lets you define your own look & feel of the editor. Default null
- logosrc (String) URL to your custom logo, or “none”
- canvasbgcolor (String) CSS color for the canvas background
- editmenubgcolor (String) CSS color for the edit menu background
- actionsmenubgcolor (String) CSS color for the actions menu background
- propertiespanelbgcolor (String) CSS color for the properties panel background
- textcolor (String) CSS color for body text
- editmenutextcolor (String) CSS color for edit menu icons and text
- actionsmenutextcolor (String) CSS color for actions menu icons and text
- propertiespaneltextcolor (String) CSS color for property panel text
- buttonstextcolor (String) CSS color for property panel buttons text
- buttonsbgcolor (String) CSS color for property panel buttons background
- css (String) CSS string declaring custom styles (overriding defaults)
- url (String) URL to CSS stylesheet file declaring custom styles (overriding defaults)
- language (String) The language in which to translate all labels and captions into, according to IETF standard. Default “en-US” (see list with all supported languages)
- features (Array|Object) (premium) List of features (by ID) to include (when array) or exclude (when object) (see list with available feature IDs)
- excluded (Array) List of features to exclude
- actions (Array) (premium) List of actions to include in the Actions menu (Save, Undo, Redo, Close). Supports custom actions (see example). Default
Pixo.ACTIONS_MENU - propertypanel (Object) Configuration for property panel, with the following properties:
- collapsible (Boolean) Should the property panel be collapsible or not. If collapsible, collapsing it will add more space for the canvas and the edited image. Default false
- collapsed (Boolean) The initial state of the property panel – expanded or collapsed. Default false
- output (Object) Settings for output image’s quality and format:
- format (String) Image format (type), can be one of the following:
- “auto” Default Detects output format by smart image analysis (transparency (alpha), number of colors, gradients, and more) and determines the best format (png or jpeg) in terms of alpha, higher quality and lower filesize
- “input” Preserves the input format, but only in case it is jpeg or png. For any other format, the above behavior is applied
- “jpeg” Forces jpeg format. Note: transparent pixels will appear black
- “png” Forces png format. Note: output image may become very large (megabytes)
- “webp” Forces webp format.
- quality (Number) Value between 0 and 1, closer value to 1 results in higher quality, and vice-versa. Applies only if the output format is jpeg or webp. Default 0.65
- optimize (Boolean) (premium) Image compression by TinyPNG. Optimizing images will result in less KB (optimzied filesize) as well as slower image export. Default false
- format (String) Image format (type), can be one of the following:
- sessionrestore (Mixed) (premium) Whether to restore previous sessions or not, and which sessions (saved or cancelled edits). By default prompts the user to confirm session restore for both saved and unsaved images. Can be an object or truthie/falsie value. Default true
- saved (Mixed) Should Pixo restore sessions of saved images. Can be object containing configuration for the prompt dialog (whether to prompt the user before restoring the session or simply restore it). Default true
- prompt (Boolean) Whether to prompt the user for session restore (
true) or to directly restore it (false). Default true
- prompt (Boolean) Whether to prompt the user for session restore (
- unsaved (Mixed) Should Pixo restore sessions of unsaved images. Can be object containing configuration for the prompt dialog (whether to prompt the user before restoring the session or simply restore it). Default true
- prompt (Boolean) Whether to prompt the user for session restore (
true) or to directly restore it (false). Default true
- prompt (Boolean) Whether to prompt the user for session restore (
- saved (Mixed) Should Pixo restore sessions of saved images. Can be object containing configuration for the prompt dialog (whether to prompt the user before restoring the session or simply restore it). Default true
- unit (String) Unit to be used in all measured user inputs (like in Crop). Can be one of the following:
- “px” Default
- “cm”
- “in”
- filterStickers (Function) (premium) Filters stock stickers by executing the passed callback function (see examples)
- filterFonts (Function) (premium) Filters stock fonts by executing the passed callback function. You must set the CSS fonts definitions via the
styleconstructor option (see examples) - filterFrames (Function) (premium) Filters stock image frames by executing the passed callback function (see examples and also check frame image guidelines)
- filterCropSizes (Function) (premium) Filters default pre-defined crop sizes by executing the passed callback function (see examples)
- onSave (Function) Callback, executed when the user finishes editing and clicks Save. See details
- onCancel (Function) Callback, executed when the user cancels editing
- onClose (Function) Callback, executed when the editor window is closed
Instance methods
- edit Opens the editor with the passed image or images to edit as arguments (check examples). Images can be one of the following types:
- Image (
<img />DOM element) - String can be one of the following:
- URL
- Base64
- DataURL
- JSON (stringified data exported from the editor in the
onSavecallback)
- Object can have one of the following shapes:
- Empty canvas that the user can start drawing on having the desired
width,heightand optionally abgcolorbackground-color (no bgcolor means that the canvas will be transparent) (see example) - JSON (data exported from the editor in the
onSavecallback) - Template
- Empty canvas that the user can start drawing on having the desired
- File
- Array of the above (batch editing) (premium) (check examples)
- Image (
- cancelEditing Closes the editor
- saveAndClose Executes “save” command in the editor; accepts a callback function, that will be called back when save is complete, receiving the same
dataobject like the onSave callback, also see example - exec Executes a command into the editor, click to see the Editing API
- destroy Destroys the instance
- filterStickers (premium) Filters stock stickers by executing the passed callback function (see examples)
- filterFrames (premium) Filters stock image frames by executing the passed callback function (see examples)
- filterCropSizes (premium) Filters default pre-defined crop sizes by executing the passed callback function (see examples)
- attachToFileInput Accepts a DOM reference (HTMLInputElement or CSS Selector String or String ID) to a
<input type="file" />element and observes it. When the user selects image(s) Pixo opens them for editing; when saved, they are ready to be uploaded (see example) - detachFromFileInput Opposite to
attachToFileInput; accepts the same DOM reference from which to detach
Editor API
Click to browse Image Editor API
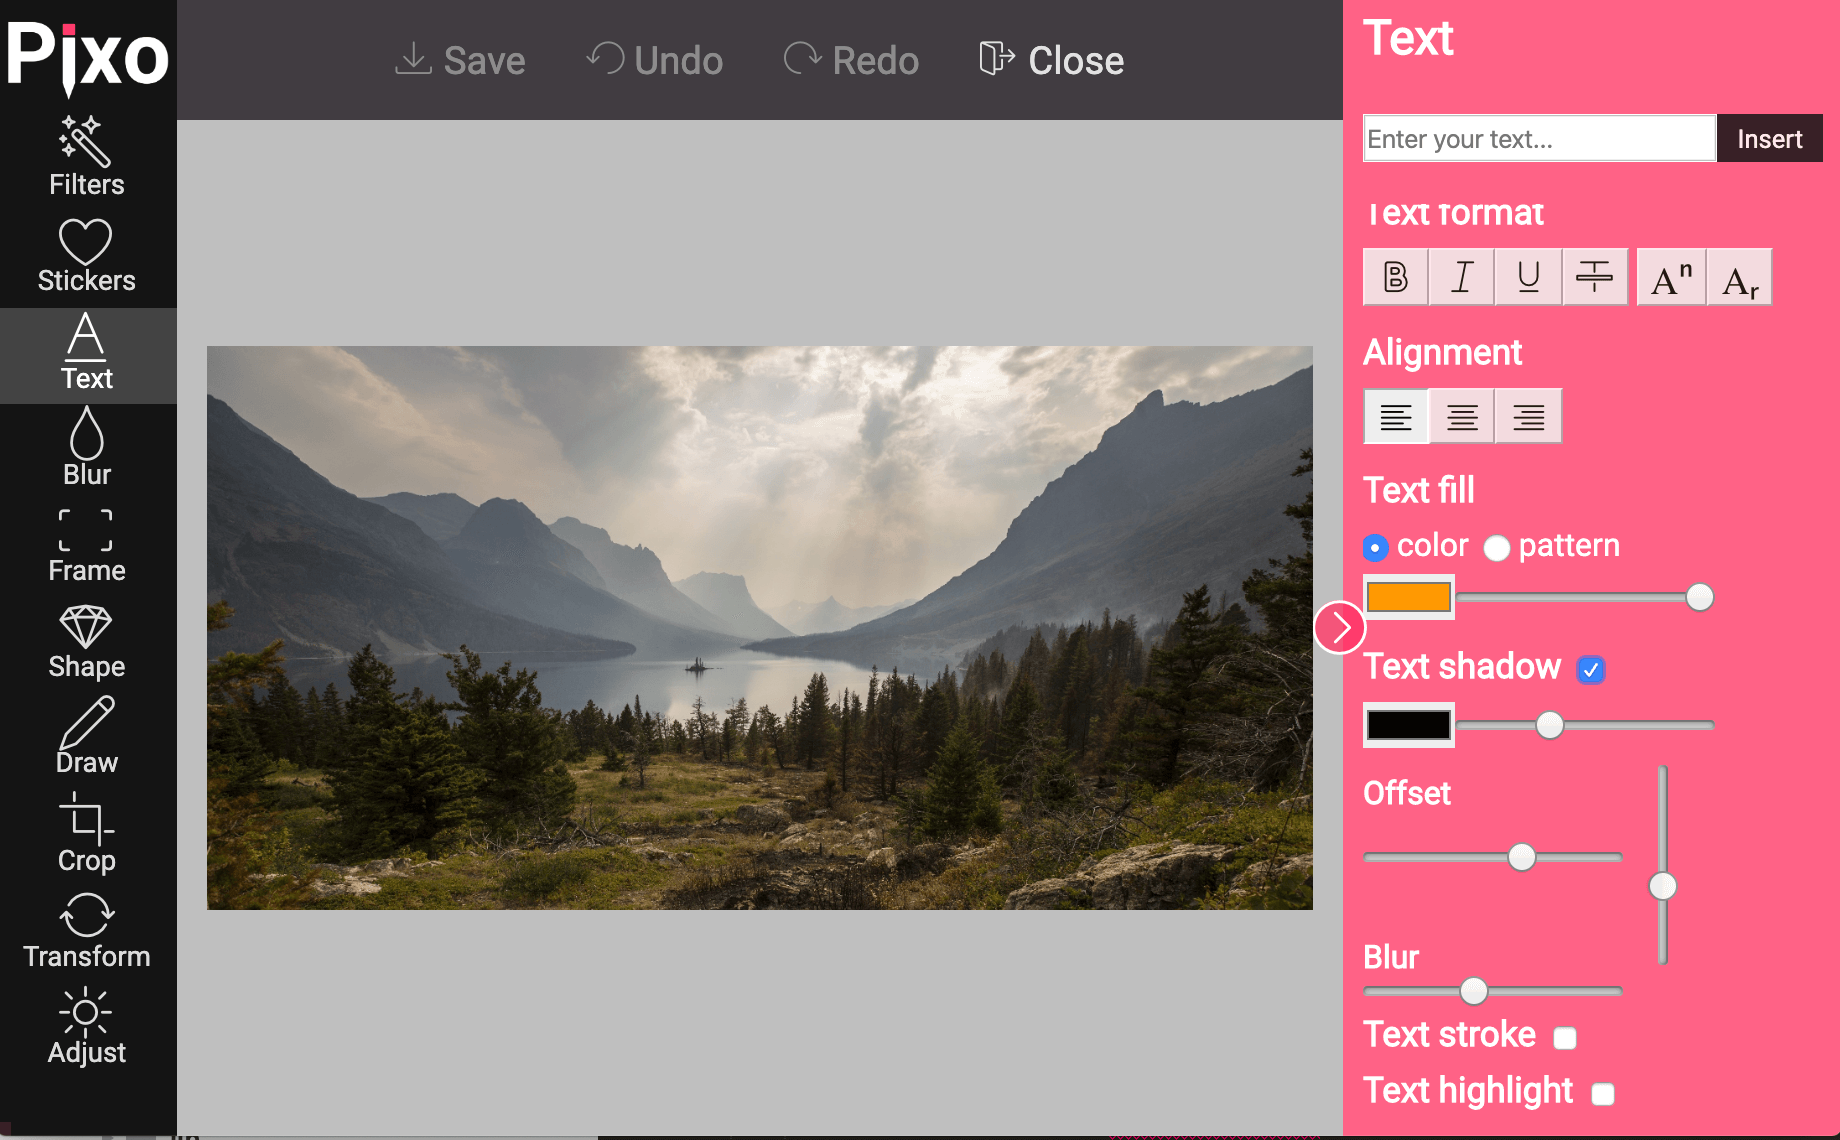
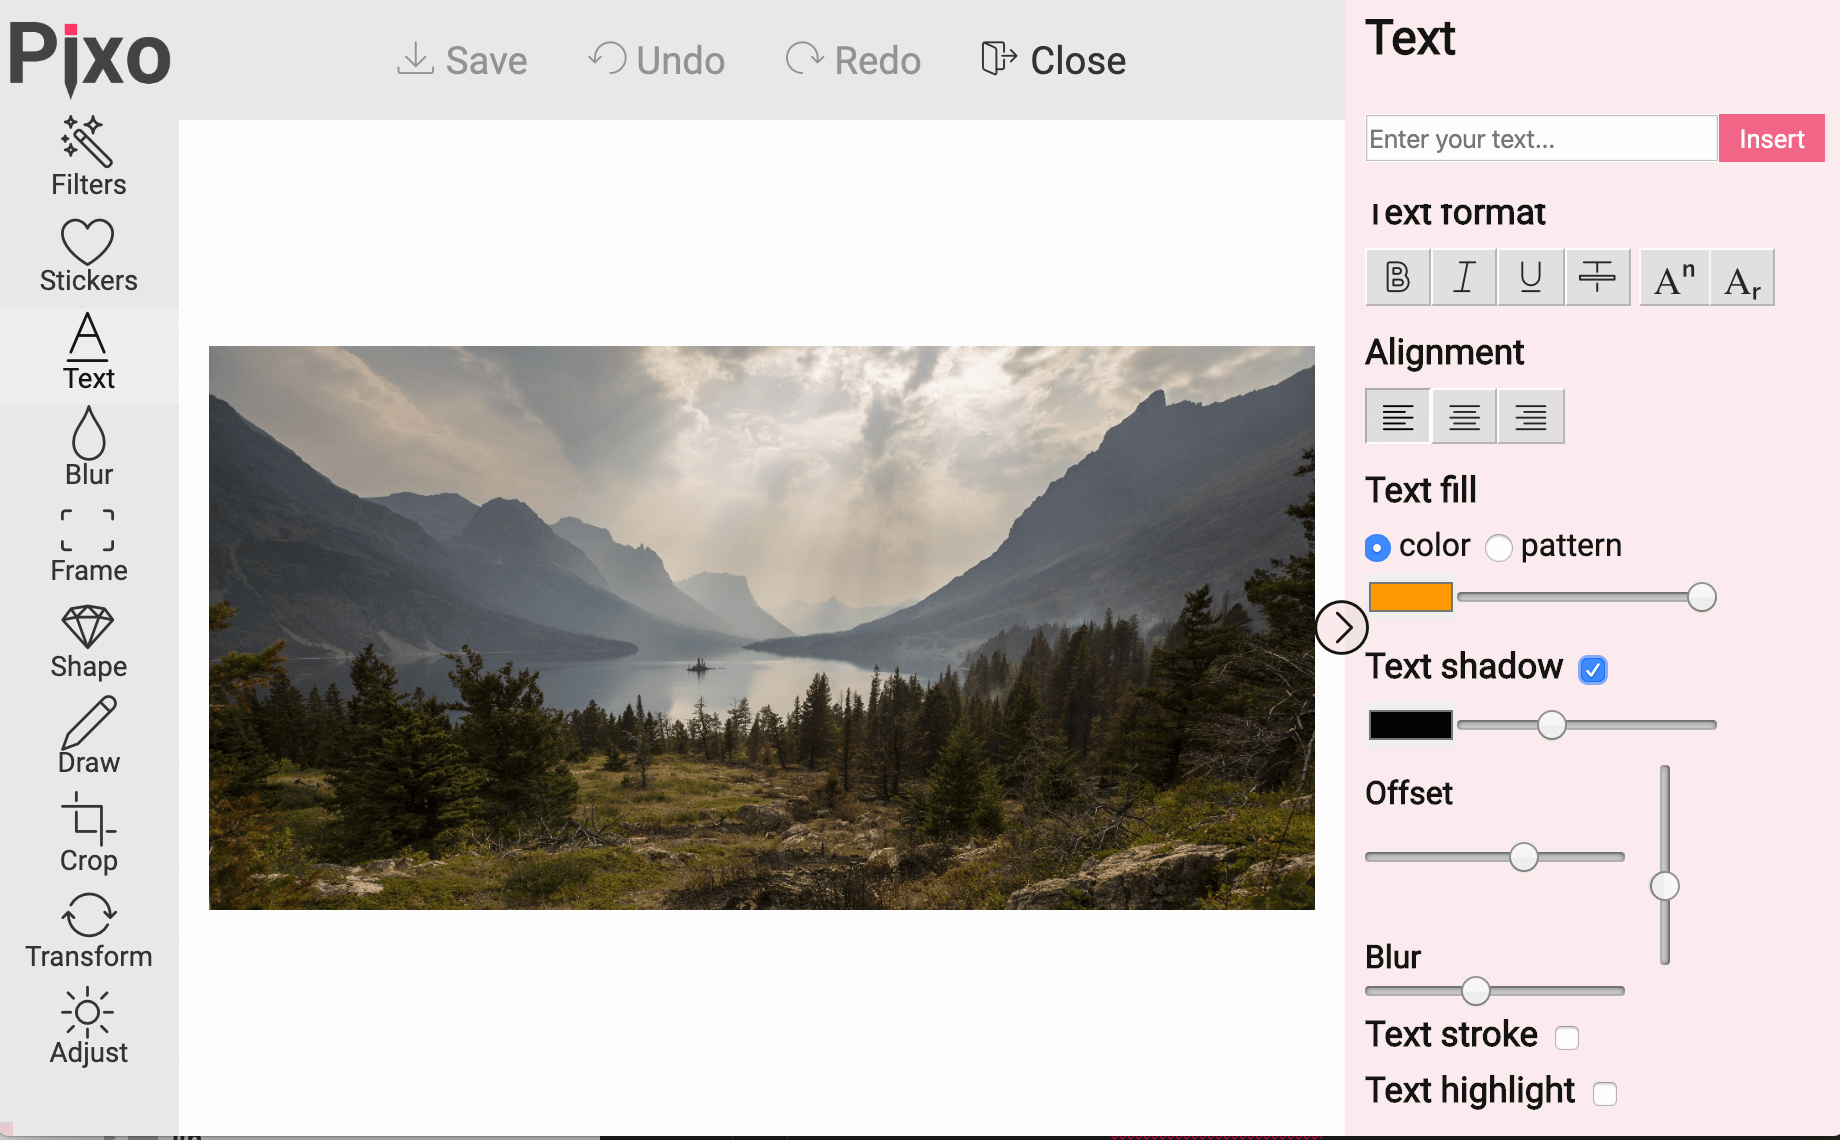
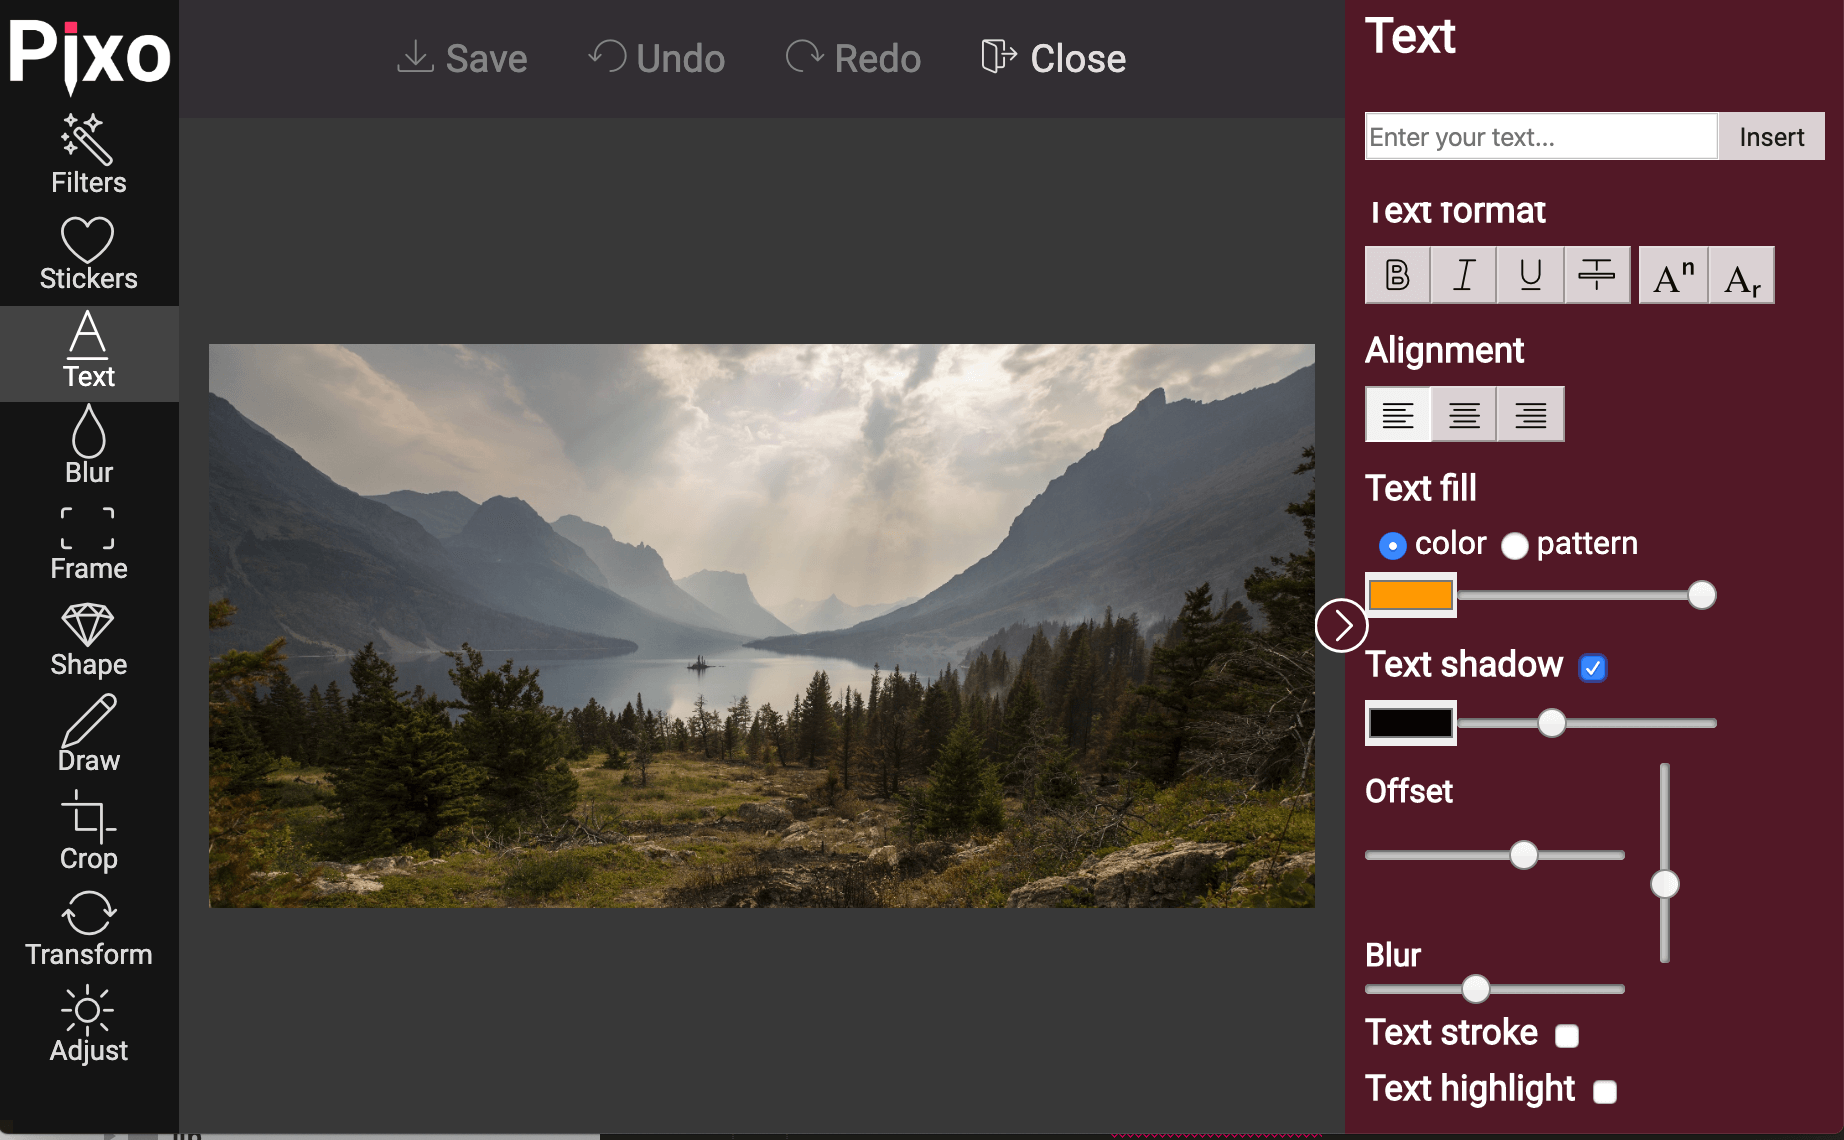
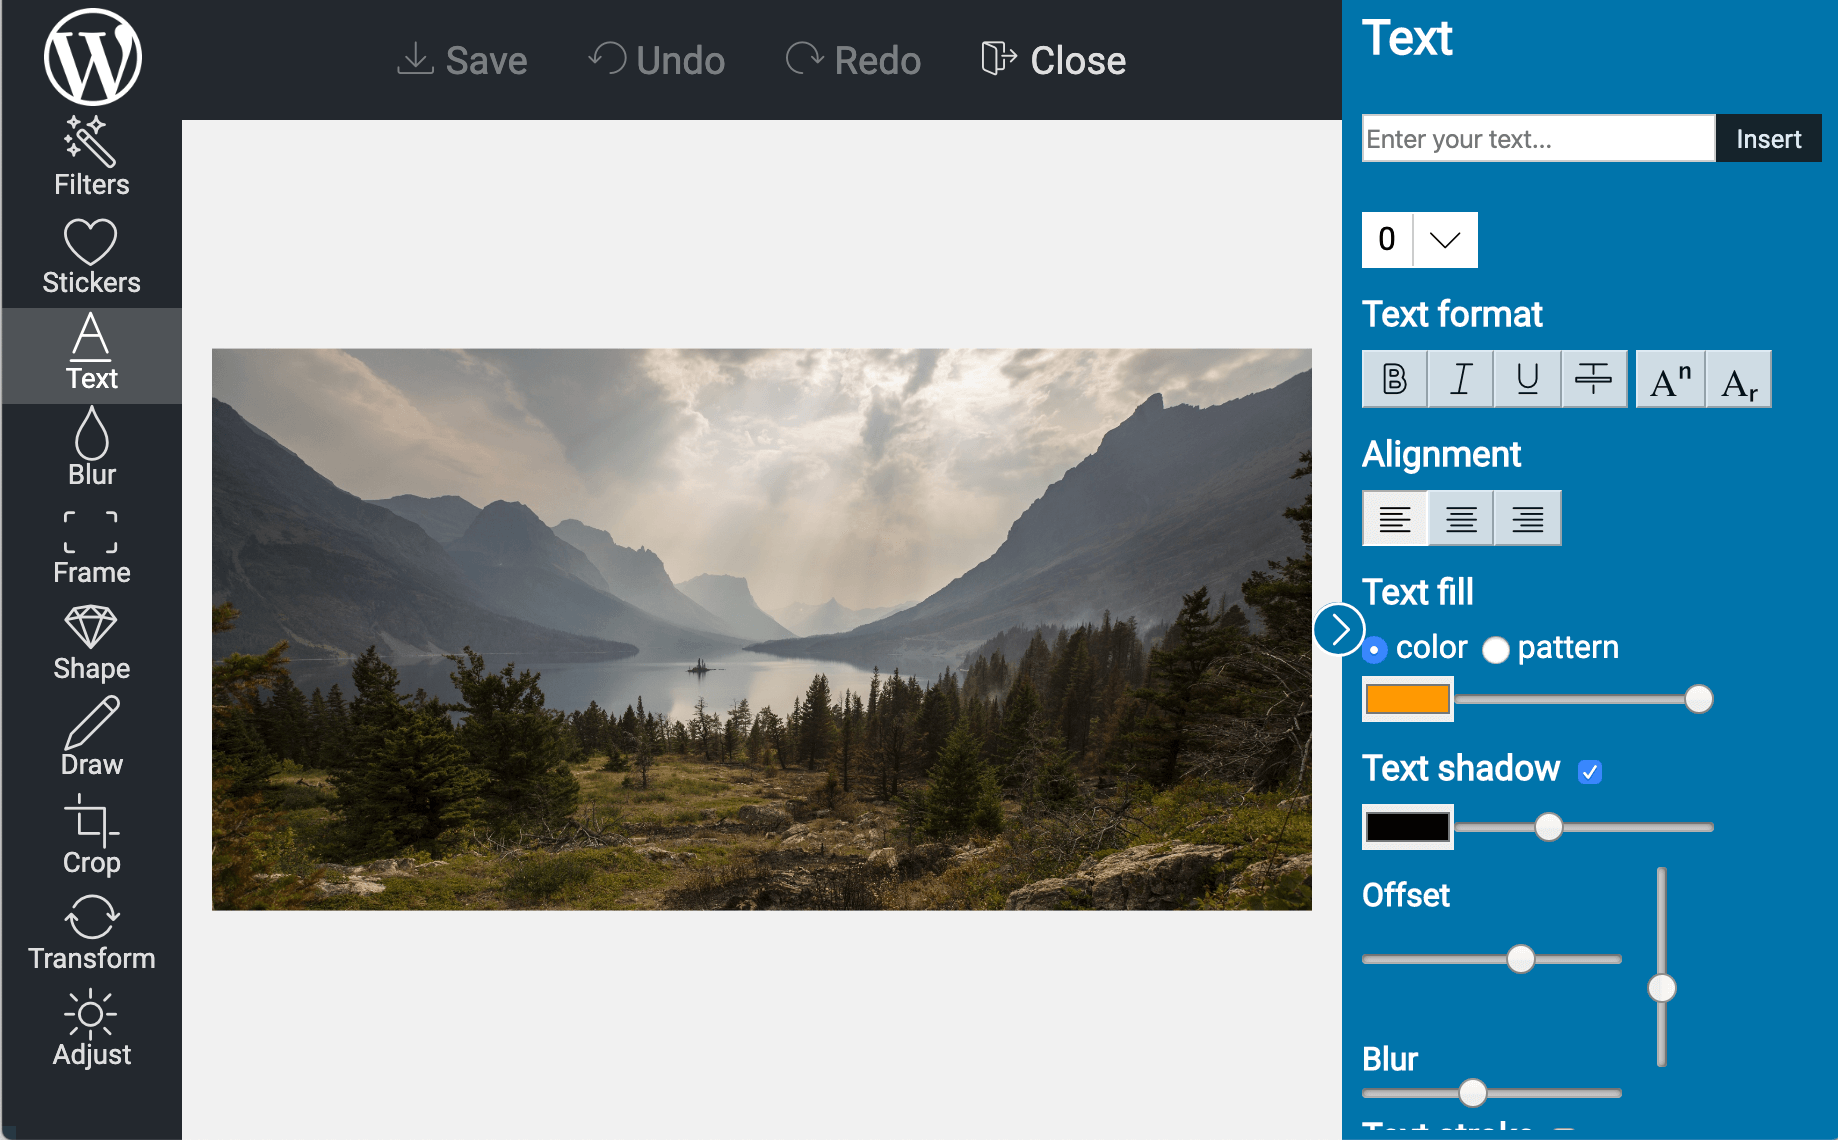
Themes
Supported languages
- en-US (English, United States)
- de-DE (German, Germany)
- fr-FR (French, France)
- pt-BR (Portuguese, Brazil)
- ru-RU (Russian, Russia)
- es-ES (Spanish, Spain)
- ar-SA (Arabic, Saudi Arabia)
- bg-BG (Bulgarian, Bulgaria)
- ko-KR (Korean, Korea)
- nl-NL (Dutch, Netherlands)
- da-DK (Danish, Denmark)
- sv-SE (Swedish, Sweden)
Help us translate Pixo in multiple languages
- Download sample JSON translation file
- Rename the file according to IETF standard
- Add the translations:
- keep the English string, add the translated string to the right, example
"Hello, world": "translation here" - keep translated strings’ length as close to their English equivalents as possible; having longer strings may result in broken or no-good-looking mobile layout
- validate the format
- save the file using UTF-8 encoding (usually this is the default for most text editors)
- keep the English string, add the translated string to the right, example
- Send us the translated file to support (at) pixoeditor.com
Features (premium)
Editor has the following features to be included or excluded:
- adjustments (Color adjustments)
- filters (Pre-defined image filters)
- draw (Free drawing)
- crop (Crop incl. pre-defined crop sizes)
- stickers (Image stickers)
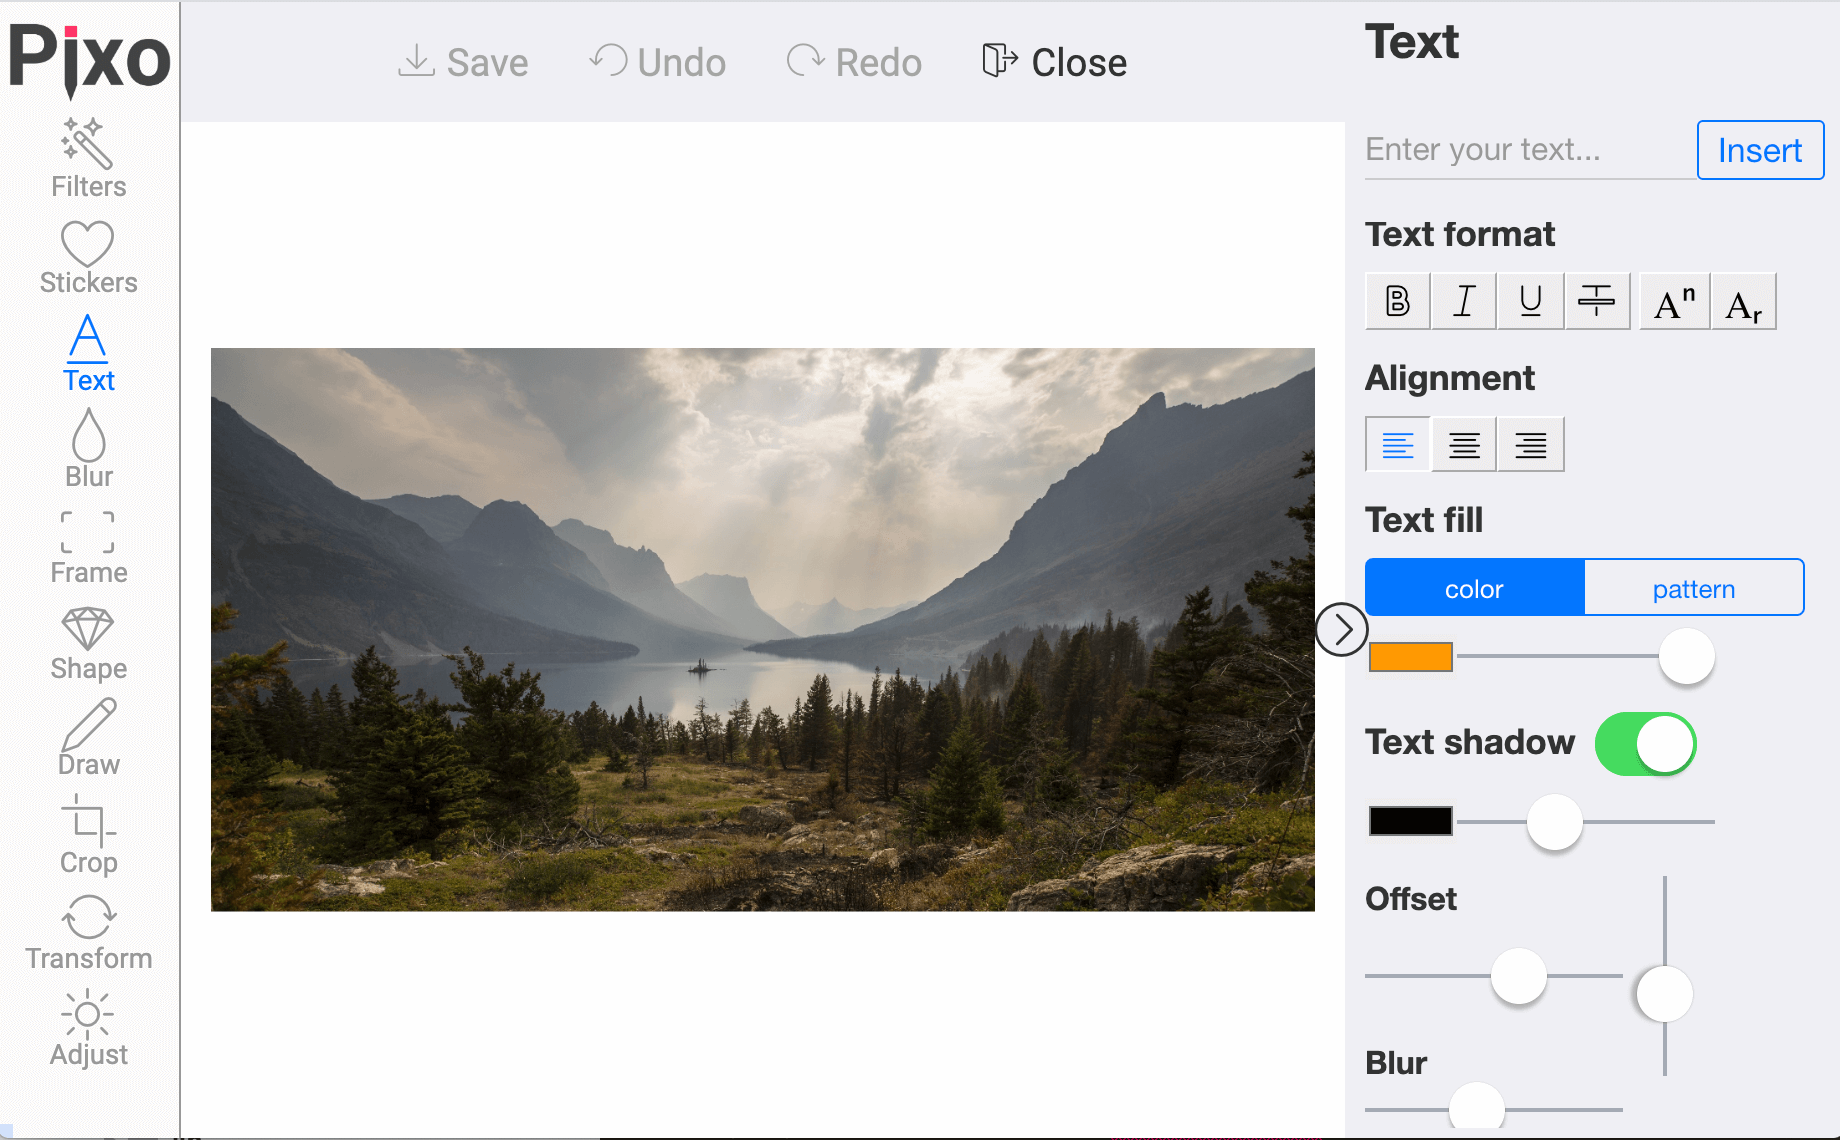
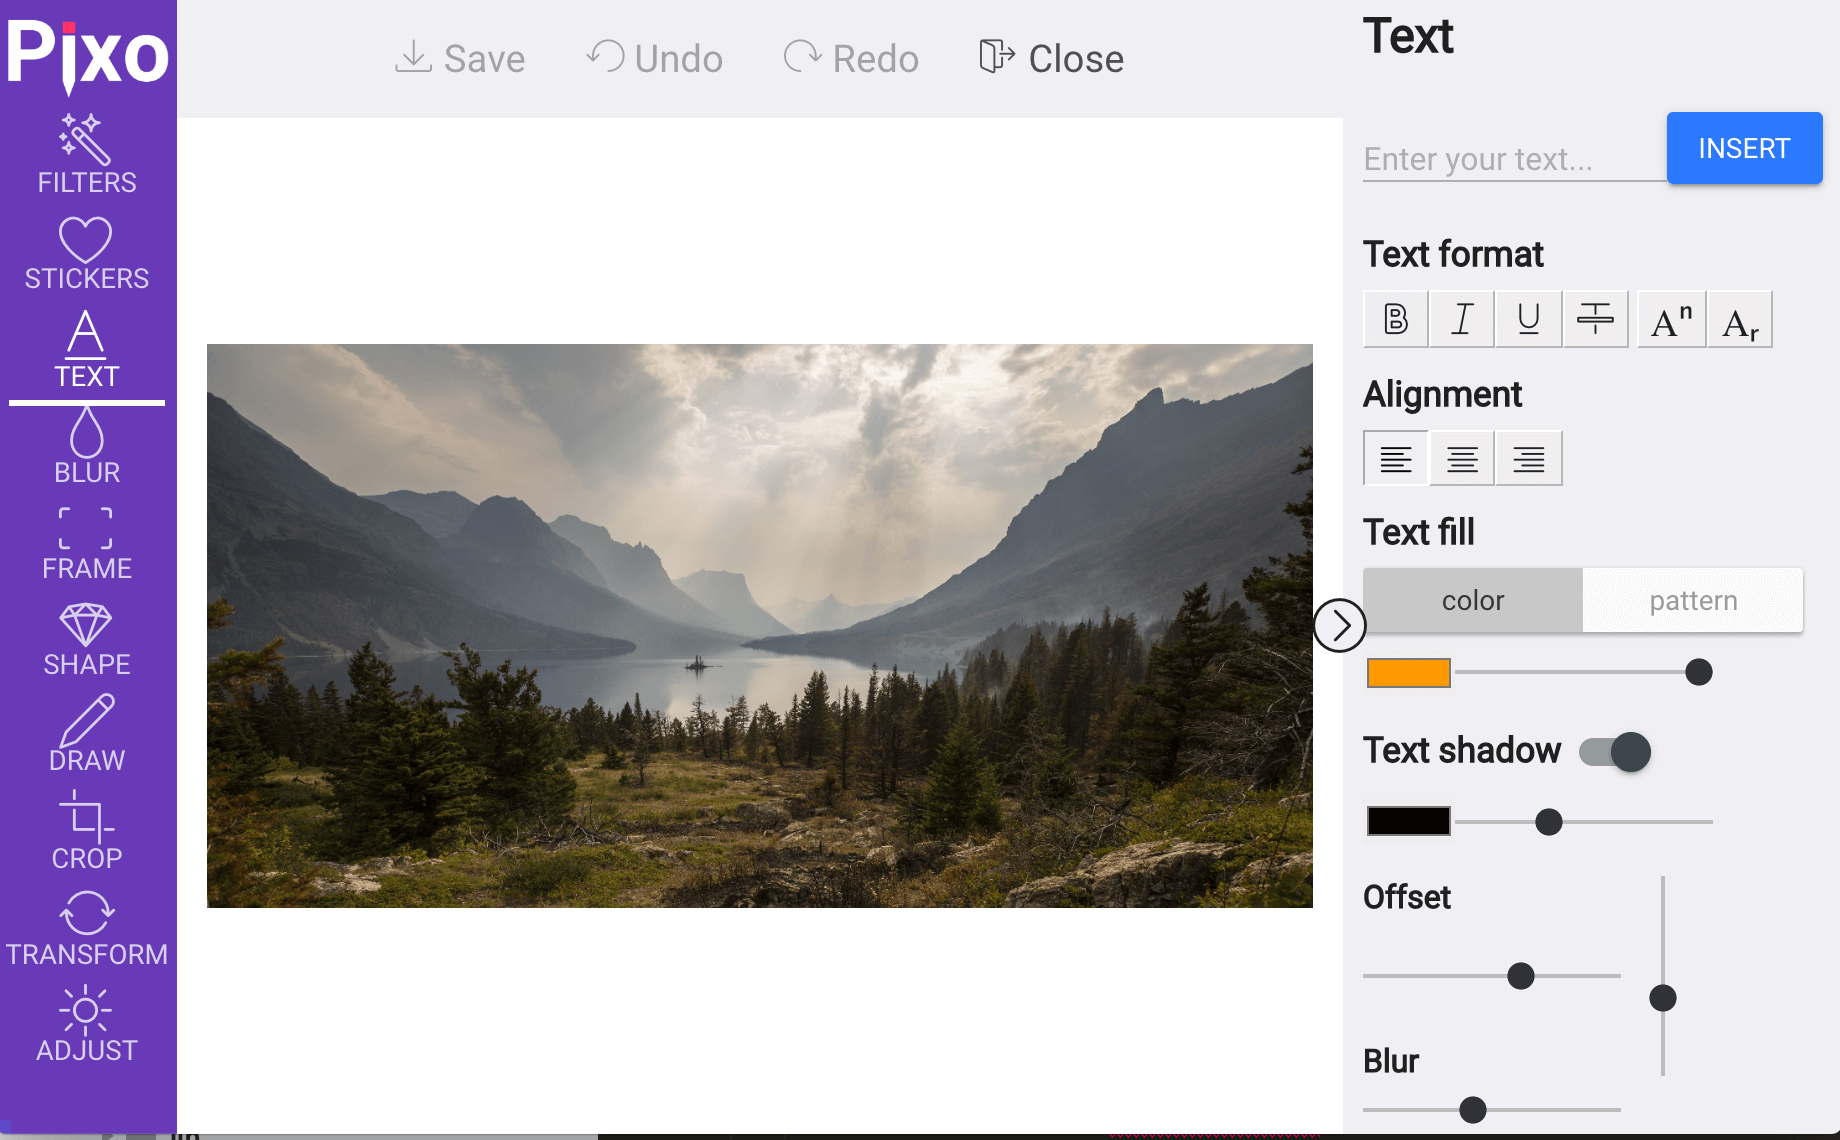
- text (Text manipulations)
- transform (Flip, rotate)
- frame (Image frame)
- blur (Image blur (zoom, tilt))
- shape (Image shape (circle, diamond, etc.))
- background (Remove a background, or replace it with solid color or another image)
onSave callback
onSave callback accepts the edited image(s) as argument. This argument is object with the following methods:
- toImage returns (Object) new Image element
- toImages returns Array of Image elements (applicable to batch and multiple editing)
- toDataURL returns (String) dataurl string of the image data
- toDataURLs returns Array of dataurl strings of the images (applicable to batch and multiple editing)
- toBase64 returns (String) base64 encoded string of the image data
- toBase64s returns Array of base64 encoded strings of the images (applicable to batch and multiple editing)
- toBlob returns (Blob) image data suitable for upload via FormData element
- toBlobs returns Array of blobs suitable for upload via FormData element
- toJSON returns the edited image in raw JSON data, suitable for editing back
- toJSONs returns Array of raw JSON data of the images (applicable to batch and multiple editing)
- download downloads the image(s) as file(s) (one by one) to user’s file system
- downloadAll downloads image(s) as a ZIP archive to user’s file system
When editing multiple images, each image is passed as an argument. See examples.
Frame images guidelines (premium)
- Frames must be transparent images (PNG or GIF). The visible part of the image must be transparent.
- Frames must be landscape oriented, or squares.
- The larger the images, the better. Design them in HD resolution at least (1920×1080).
- Optimize file size as much as possible. TinyPNG is a good optimizer.
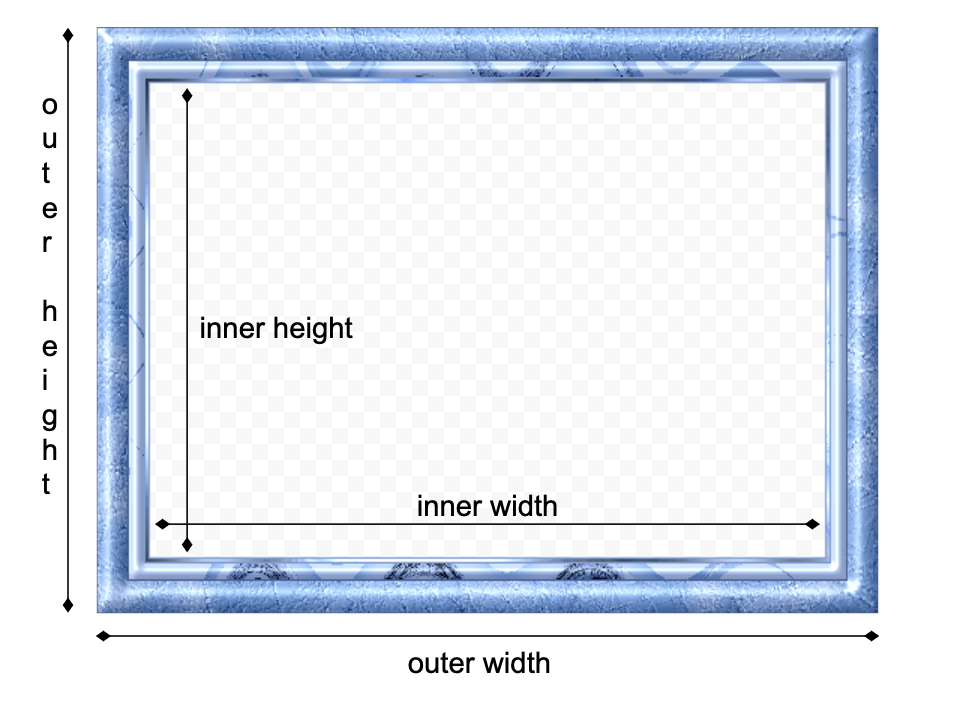
- You need to provide both outer and inner dimensions to the configuration:
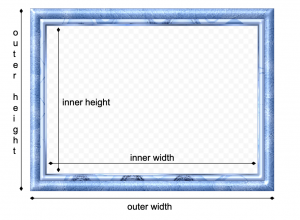
- Try to keep inner ratio (inner width divided by inner height) between 1 and 1.5 .
- The simpler and monochromatic the frame is, the larger treshold you can set. The treshold determines whether the frame will be rescaled to fully fit along the image, or parts of the image will be cropped (horizontally or vertically, depending on the difference between the image and frame aspect ratios. The larger the treshold, the more adaptive the frame will be. Below you can see examples for simpler and monochromatic frame (that accepts larger treshold (0.8-1) and complex frame that accepts smaller treshold (0.1-0.2):
")
Very simple & monochromatic frame, may accept large treshold (0.8-1) ")
Complex frame, requires small treshold (0.1-0.2)
Templates
Pixo can apply pre-defined templates to your end-users’ images. This includes anything that can be done with Pixo: text, filters, shape, frame, drawings, stickers… everything! When the end-user opens his image in Pixo, template is applied to it and every object (text, sticker, etc.) is editable.
Creating a template
To create a template, create a new Pixo Editor instance with onSave callback exporting the edited image as JSON:
const pixo = new Pixo.Bridge({
   apikey   : 'apikey',
   onSave   : function ( image ) {
      const template = image.toJSON();
      // save the template to your database so you can reuse later...
   },
});
pixo.edit('any/image');
image.toJSON() returns you a raw JSON data of the image, which you can store in your database as a template and reuse later.
Applying a template to end-users’ images
Then, on your production, for your end users, you can instantiate Pixo like this:
const pixo = new Pixo.Bridge({
   apikey   : 'apikey',
});
pixo.edit({
   src: 'uploaded-user-image-base64-or-url',
   template: template, // this is the template exported in the above example
});
This will apply all the changes from the template (text, stickers, frame, shape, color corrections, filters, etc.) to the users’ images.
You may also want to check out this tutorial (with examples in JSFiddle).
Examples
Integration in most popular JavaScript libraries and frameworks
Edit image from the page
<img id="myimage" src="myimage.png" />
<script src="https://pixoeditor.com/editor/scripts/bridge.m.js"></script>
<script>
   var image = document.getElementById('myimage');
   image.onload = function(){
      //create new Pixo instance
      var editor = new Pixo.Bridge({
         apikey: 'abc123xyz000',
         type: 'modal',
         onSave: function(arg){
            //replace image src with the new image data
            image.src = arg.toDataURL();
            //...or replace the entire image
            image.parentNode.insertBefore(arg.toImage(), image);
            image.parentNode.removeChild(image);
         }
      });
      editor.edit(image);
   }
</script>
Attach to file input
<input type="file" name="image" />
<script src="https://pixoeditor.com/editor/scripts/bridge.m.js"></script>
<script>
   //create new Pixo instance
   const pixo = new Pixo.Bridge({
      apikey: 'abc123xyz000',
   });
   //the editor will observe the "onchange" event of the file input,
   //and on save will update it with the new image; then the new image
   //then the new file is ready to be uploaded - no more actions required!
   pixo.attachToFileInput(document.querySelector('input[type=file]'));
</script>
Init with empty canvas
You can init Pixo Editor with empty canvas (transparent or having solid background) which the user can start drawing onto:
<script src="https://pixoeditor.com/editor/scripts/bridge.m.js"></script>
<script>
   //create new Pixo instance that opens empty transparent 800x600 canvas
   new Pixo.Bridge({
      apikey: 'abc123xyz000',
   }).edit({ width: 800, height: 600 });

   //create new Pixo instance that opens empty white 800x600 canvas
   new Pixo.Bridge({
      apikey: 'abc123xyz000',
   }).edit({
      width: 800,
      height: 600,
      bgcolor: 'white',
   });
</script>
Upload edited image
<script src="https://pixoeditor.com/editor/scripts/bridge.m.js"></script>
<script>
   //create new Pixo instance
   new Pixo.Bridge({
      apikey: 'abc123xyz000',
      onSave: function(arg){
         //create FormData object and append the image to it
         var data = new FormData();
         //assuming that your backend accepts "image" POST parameter
         data.append('image', arg.toBlob());
         //create new XMLHttpRequest
         var request = new XMLHttpRequest();
         request.open('POST', 'http://yourdomain.com/path/to/upload.php');
         request.send(data);
      }
   }).edit('http://yourdomain.com/path/to/imagetoedit.jpg');
</script>
Batch editing
<script src="https://pixoeditor.com/editor/scripts/bridge.m.js"></script>
<script>
   new Pixo.Bridge({
      apikey: 'abc123xyz000',
      onSave: function(arg){
         //the passed `arg` has the following methods: toImages, toDataURLs, toBlobs
         //all returning array of images in the requested format
         arg.toImages().forEach(img => document.body.appendChild(img));
      }
   }).edit([
      //user will edit only this image and all changes will be replicated to the rest
      'http://yourdomain.com/path/to/image1.jpg',
      'http://yourdomain.com/path/to/image2.jpg',
      'http://yourdomain.com/path/to/imageN.jpg',
   ]);
</script>
Multiple editing
<script src="https://pixoeditor.com/editor/scripts/bridge.m.js"></script>
<script>
   new Pixo.Bridge({
      apikey: 'abc123xyz000',
      onSave: function(arg1, arg2, arg3){
         document.body.appendChild(arg1.toImage());
         document.body.appendChild(arg2.toImage());
         document.body.appendChild(arg3.toImage());
         //or better
         [].slice.call(arguments).forEach(arg => document.body.appendChild(arg.toImage()));
      }
   }).edit(
      //user will edit every image one after another
      'http://yourdomain.com/path/to/image1.jpg',
      'http://yourdomain.com/path/to/image2.jpg',
      'http://yourdomain.com/path/to/imageN.jpg'
   );
</script>
Modify or completely replace stock stickers
Pixo allows you to extend the default stickers pack, or to completely replace it with your own collection.
You can do that by passing a constructor callback option called filterStickers. This function accepts default stickers collection as array and must return the updated collection. Each item in the array must be an object with the following properties:
- src (String) Required. URL to the sticker image that will be inserted
- thumb (String) URL to the preview image that will be shown in the property panel; if not provided, src property will be used
- caption (String) Caption that will be displayed below the sticker, also used for filtering results
- keywords (Array) Array of keywords that are not displayed, but considered when user is filtering the stickers
<script>
var my_stickers = [
  {
     // This is the PNG image that will be inserted. The larger size the better.
     // Required. The URL must be publicly accessible or CORS-friendly.
     src: 'https://yourdomain.com/path/to/large-image.png',

     // This is the thumbnail image that will be shown in the property panel.
     // Optional. If missing "src" will be used. The URL may not be CORS-friendly
     // or publicly accessible.
     thumb: 'https://yourdomain.com/path/to/thumbnail-100x100.png',

     // Sticker caption that will be printed in the property panel below the image.
     // Required.
     caption: 'My Cool Sticker',

     // Keywords are not displayed, but are considered when filtering stickers.
     // Optional.
     keywords: ['cool', 'awesome'],
  },
  {
     src: 'https://yourdomain.com/path/to/large-image.png',
     thumb: 'https://yourdomain.com/path/to/thumbnail-100x100.png',
     caption: 'My Cool Sticker',
     keywords: ['cool', 'awesome'],
  },
];

var pixo_instance = new Pixo.Bridge({
  apikey: 'abc123xyz000',
  filterStickers: function(stock_stickers){
     // replace stock stickers with your own
     return my_stickers;
     // or, merge them and place your at the top
     return my_stickers.concat(stock_stickers);
     // or, merge them and place your at the bottom
     return stock_stickers.concat(my_stickers);
     // or, mix them randomly
     return stock_stickers.concat(my_stickers).sort(function(){
        return Math.random() - 0.5;
     });
     // or mix them and filter stock stickers
     return my_stickers.concat(
        stock_stickers.filter(function(sticker){
           // show only stock stickers with cats
           return sticker.name.toLowerCase().indexOf('cat') > -1;
        })
     ).sort(function(a, b){
        // sort all stickers by name
        return a.name < b.name ? -1 : a.name > b.name ? 1 : 0;
     });
  },
});
</script>
You can later filter stickers by calling the appropriate instance method, like this:
pixo_instance.filterStickers(function(stock_stickers){
   // ...
   return my_stickers;
});
Modify or completely replace stock fonts
Pixo allows you to extend the default fonts pack, or to completely replace it with your own fonts collection.
Keep in mind that Pixo needs the CSS fonts definitions, so you will also must provide them via the style constructor option:
<script>
var my_fonts = [
  [
     // This is the custom font name as declared in the CSS file
     'Rubik Moonrocks',
     // The rest of the names are the fallback fonts stack
     'sans-serif',
  ],
];

var pixo_instance = new Pixo.Bridge({
  apikey: 'abc123xyz000',

  // Important! Make sure that the CSS font declarations will be
  // inserted in Pixo Editor!
  styles: { url: 'https://fonts.googleapis.com/css2?family=Rubik+Moonrocks&display=swap' },
  filterFonts: function(stock_fonts){
     // replace stock fonts with your own
     return my_fonts;
     // or, merge them and place yours at the top
     return my_fonts.concat(stock_fonts);
     // or, merge them and place yours at the bottom
     return stock_fonts.concat(my_fonts);
     // or, mix them randomly
     return stock_fonts.concat(my_fonts).sort(function(){
        return Math.random() - 0.5;
     });
  },
});
</script>
You can later filter fonts again by calling the appropriate instance method, like this:
pixo_instance.filterFonts(function(stock_fonts){
   // ...
   return my_fonts;
});
Modify or completely replace stock image frames
Pixo allows you to extend the default image frames pack, or to completely replace it with your own collection.
You can do that by passing a constructor callback option called filterFrames. This function accepts default frames collection as array and must return the updated collection. Each item in the array must be an object with the following properties:
- src (String) Required. URL to the frame image that will be inserted
- thumb (String) Recommended. URL to the preview image that will be shown in the property panel; if not provided, src property will be used (not recommended)
- caption (String) (Optional) Text caption to be displayed below thumb preview
- dimensions (Object) Contains outer and inner dimensions of the frame as properties:
- outer (Array) Outer dimensions (or in other words the real frame image dimensions) e.g. [ width, height ]
- inner (Array) Inner dimensions (or in other words the dimensions of the visible part) e.g. [ width, height ]
- treshold (Number) Value between 0 and 1 determining the % tolerance in difference between frame inner dimensions ratio and edited image ratio. Default 0.7 . When the difference between image and frame ratio is below the treshold the frame will be rescaled to fully fit the image inside; otherwise, image will be a little cropped horizontally or vertically, depending on the image orientation and the ratio difference.
Please check also the image frames guidelines.
<script>
var my_frames = [
  {
     // This is the PNG image that will be used as frame. The larger size the better.
     // Required. The URL must be publicly accessible or CORS-friendly.
     src: 'https://yourdomain.com/path/to/image-frame.png',

     // This is the thumbnail image that will be shown in the property panel.
     // Optional. If missing "src" will be used.
     thumb: 'https://yourdomain.com/path/to/thumbnail-100x100.png',

     // Outer and inner dimensions.
     // Required.
     dimensions: {
        outer: [1920, 1080],
        inner: [1660, 880],
     },

     treshold: .3,
  },
  {
     src: 'https://yourdomain.com/path/to/large-image.png',
     thumb: 'https://yourdomain.com/path/to/thumbnail-100x100.png',
     dimensions: {
        outer: [1920, 1080],
        inner: [1660, 880],
     },
     caption: 'My Custom Frame',
  },
];

var pixo_instance = new Pixo.Bridge({
  apikey: 'abc123xyz000',
  filterFrames: function(stock_frames){
     // replace stock frames with your own
     return my_frames;
     // or, merge them and place your at the top
     return my_frames.concat(stock_frames);
     // or, merge them and place your at the bottom
     return stock_frames.concat(my_frames);
     // or, mix them randomly
     return stock_frames.concat(my_frames).sort(function(){
        return Math.random() - 0.5;
     });
  },
});
</script>
You can later filter frames again by calling the appropriate instance method, like this:
pixo_instance.filterFrames(function(stock_frames){
   // ...
   return my_frames;
});
Modify or completely replace pre-defined crop sizes
Pixo allows you to extend the default pre-defined crop sizes, or to completely replace them.
You can do that by passing a constructor callback option called filterCropSizes. This function accepts default crop sizes as array and must return the updated array or new array. Each item in the array must be an object with the following properties:
- caption (String) Caption that will be displayed below the crop size
- value (Number) Crop aspect ratio
<script>
var my_crop_sizes = [
  {
     // Crop size caption that will be printed in the property panel below the preview.
     // Required.
     caption: '3:2',

     // Crop aspect ratio.
     // Required.
     value: 3 / 2,
  },
  {
     caption: '5:3',
     value: 5 / 3,
  },
];

var pixo_instance = new Pixo.Bridge({
  apikey: 'abc123xyz000',
  filterCropSizes: function(default_crop_sizes){
     // replace default crop sizes with your own
     return my_crop_sizes;
     // or, merge them and place yours at the top
     return my_crop_sizes.concat(default_crop_sizes);
     // or, merge them and place your at the bottom
     return default_crop_sizes.concat(my_crop_sizes);
     // or, mix them randomly
     return default_crop_sizes.concat(my_crop_sizes).sort(function(){
        return Math.random() - 0.5;
     });
  },
});
</script>
You can later filter crop sizes by calling the appropriate instance method, like this:
pixo_instance.filterCropSizes(function(default_crop_sizes){
   // ...
   return my_crop_sizes;
});
Choose theme
new Pixo.Bridge({
   theme: 'iOS',
});
Include specific features
new Pixo.Bridge({
   // This will include only Filters and Stickers and nothing more
   // The order you define in the array will affect the order of
   // display in the Edit menu
   features: ['filters', 'stickers'],
});
Exclude specific feature
new Pixo.Bridge({
   // This will exclude only Filters and Stickers and will include
   // all other available features
   features: {
      excluded: ['filters', 'stickers'],
   },
});
Custom actions
// No Undo/Redo
new Pixo.Bridge({
   actions: [ Pixo.ACTIONS.SAVE_CLOSE, Pixo.ACTIONS.CLOSE ],
});
// Multiple Save options (creates a dropdown under the Save action)
new Pixo.Bridge({
   actions: [{
         caption     : 'Export', // You can set whatever caption you like
         icon        : 'download', // List of available icons: https://linearicons.com/free
         options     : [
            {
               caption     : 'and overwrite',
               action      : 'SAVE_OVERWRITE', // Your custom action
            },
            {
               caption     : 'as new',
               action      : 'SAVE_NEW',
            },
            {
               caption     : 'overwrite and update posts',
               action      : 'SAVE_OVERWRITE_UPDATE',
            },
            {
               caption     : 'as new and update posts',
               action      : 'SAVE_NEW_UPDATE',
            },
         ],
         onClick     : function ( action ) {
            // In the `onClick` callback you receive the clicked action
            if ( action === 'SAVE_NEW' ) {
               this.saveAndClose( function ( output ) {
                  document.body.appendChild( output.toImage() );
               });
            }
         },
      }].concat( Pixo.ACTIONS_MENU.slice(1) ),
});