Pixo supports templates for quite some time. But we were getting so many support questions how do they work and how they can be used. Therefore, we decided to make this quick tutorial.
Pixo Templates are actually a pre-defined set of actions that will be applied to end users’ images when they open Pixo Editor. In other words, a template may apply a filter, or adjust colors, or add a frame or shape, or insert a sticker. Basically anything that the regular end-user may do. The difference is, the end user does not have to do that. If your Pixo instance is properly configured to use a template, this template will be applied to the end user’s image when s/he opens Pixo.
How does the template look like
The Template is basically a JSON data. You can export every edited image in Pixo as a JSON:
new Pixo.Bridge({
   apikey: 'apikey',
   onSave: function (image) {
      console.log(image.toJSON());
   },
});
How to create a Template
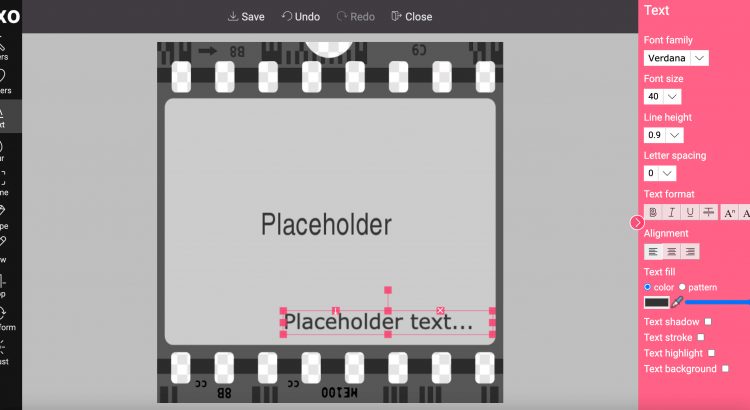
You will have to configure locally a Pixo instance (which should not be available to your end-users!) and use it to open a placeholder image, make changes, and export it as a JSON.
How to pass this Template JSON to your end users
You should keep this JSON in your database (NB: it may be large!) and serve it via API, or have your server print it as a JavaScript object in the HTML of your pages. Then, you need to pass an object to Pixo’s edit method, containing the following properties:
template– that’s the Template JSONsrc– that’s the end user’s image, which can be url or a dataurl string
const template = { ... };
new Pixo.Bridge({
   apikey: 'apikey',
}).edit({ template, src: 'https://via.placeholder.com/320x240.jpg' });
How does it work
When the template and the user’s image are opened in Pixo, the placeholder image in the template gets replaced with the end user’s image, and all changes are smartly replicated to the user’s image, taking into consideration dimensions and aspect ratio.
Demo
For the demo, we are using the localStorage to save the template (no back-end) for simplicity. There are two instances of Pixo:
- Template Creator (open in JSFiddle) – this instance should be locally instantiated on your dev environment and should be used for creating & saving templates
- Template Consumer (open in JSFiddle) – this is the official instance for your end user, which consumes the templates created by the Creator
If you still have questions…
…then do not hesitate to post a comment here or contact us via our Contact Form.
Happy coding!
Andrew says on February 7, 2023 at 2:46 pm
Can you create a template and attach it to a specific user ID? So if that specific user goes to edit an image it will include that template?
Pixo Team says on February 7, 2023 at 4:54 pm
Hey Andrew,
Most probably you’re asking about a WordPress user ID? Our WordPress plugin does not support Templates yet, but the Pixo API does! With some custom coding you should be able to achieve what you want, so the answer is “yes”!