loading

Pixo Image Editor

Tutorial: Integrate Pixo in Angular app

This post is part from series of posts related to integrating Pixo into most popular frameworks. You may check also:

You can check the example and the source code here.

Create new Angular app

We start with creating a boilerplate app. We need Angular-CLI for that purpose, so make sure to install it if you don’t already have it:

npm install -g @angular/cli

Then create the new application:

ng new

This creates the required files structure, dependencies and tooling – everything you need to start developing your business logic.

Start the app

npm start

This will start Angular dev server on localhost:4200 where you can see the welcome screen.

The browser will automatically reload every time you save a file.

Integrate Pixo

Now let’s get the real work done.

Add Pixo.Bridge dependency

Open in your editor src/index.html and add <script src="https://pixoeditor.com/editor/scripts/bridge.m.js"></script> somewhere between the <head></head> tags.

This will add Pixo.Bridge to your global object (window). The Bridge class is required in order to create a “bridge” between your app and Pixo Service.

Declare Pixo as a global object

Since Pixo dependency is not modular, Pixo is registered as a global object. Angular is using TypeScript, therefore you will have to explicitly declare that Pixo is a global variable of type any. To do that:

  • create new file src/globals.d.ts
  • add declare var Pixo: any; and save it

Create Pixo Bridge

Next step is to create new instance of Pixo.Bridge in your app component.

Open src/app/app.component.ts in your editor and add the following properties and methods to the AppComponent class:

  • src: string url to initial image
  • onEdit: callback function to handle opening of Pixo Editor

The contents of src/app/app.component.ts should look like as follows:

import { Component } from '@angular/core';

@Component({
  selector: 'app-root',
  templateUrl: './app.component.html',
  styleUrls: ['./app.component.css']
})
export class AppComponent {
  title = 'angular-pixo';

  src: string = 'https://via.placeholder.com/350x150';

  onEdit(): void {
    var editor = new window.Pixo.Bridge({
      apikey: 'xxxxxxxxxxxx', // put your API key here!
      type: 'modal',
    });
    editor.edit(this.src);
  }
}

Don’t forget to replace the dummy string with your real API key.

Create the view

Next we need to update component view to display our image with the proper src from the model.

Open src/app/app.component.html and type:

<h1>Click the image to edit it</h1>
<img id="myimage" src="{{src}}" (click)="onEdit()" />

Check the browser and voila! The image is shown, and click on it loads Pixo! Now let’s proceed with the final step – handle the Save action.

Handle the Save

We need to add the onSave callback to Pixo.Bridge (instantiated previously in src/app/app.component.ts) that will update the model with the new src. Since this is asynchronous action, we are going to use NgZone. Include it from @angular/core together with the Component:

import { Component, NgZone } from '@angular/core';

Next, declare the AppComponent constructor:

constructor(private ngZone: NgZone) {
}

Finally, add the onSave callback that takes the edited image and stores it in the model:

onSave: arg => {
  this.ngZone.run(() => {
    this.src = arg.toDataURL()
  });
}

And that’s it! The image now updates in the new once it is edited with Pixo. And here is the final version of src/app/app.component.ts:

import { Component, NgZone } from '@angular/core';

@Component({
  selector: 'app-root',
  templateUrl: './app.component.html',
  styleUrls: ['./app.component.css']
})
export class AppComponent {
  title = 'angular-pixo';

  src: string = 'https://via.placeholder.com/350x150';

  constructor(private ngZone: NgZone) {
  }

  onEdit(): void {
    var editor = new window.Pixo.Bridge({
      apikey: 'xxxxxxxxxxxx', // put your API key here!
      type: 'modal',
      onSave: arg => {
        this.ngZone.run(() => {
          this.src = arg.toDataURL()
        });
      }
    });
    editor.edit(this.src);
  }
}

Source code and demo

Integration of Pixo in Angular app

You can extend & configure Pixo with anything you want, just make sure that you read our documentation.

This post is part from series of posts related to integrating Pixo into most popular frameworks. You may check also:
Pixo is now available in Russian!

Hi folks,

Here’s another translation available! It is Russian (ru-RU). If you need Pixo translated to this language, set it like this:

new Pixo.Bridge({
   language: 'ru-RU',
});

Special thanks to Evgeny Glazyrin, web programmer from Yoshkar-Ola, for translating.

If you want Pixo translated in your language, you can help!

Make Pixo on your web/hybrid app look native with iOS and Android themes!

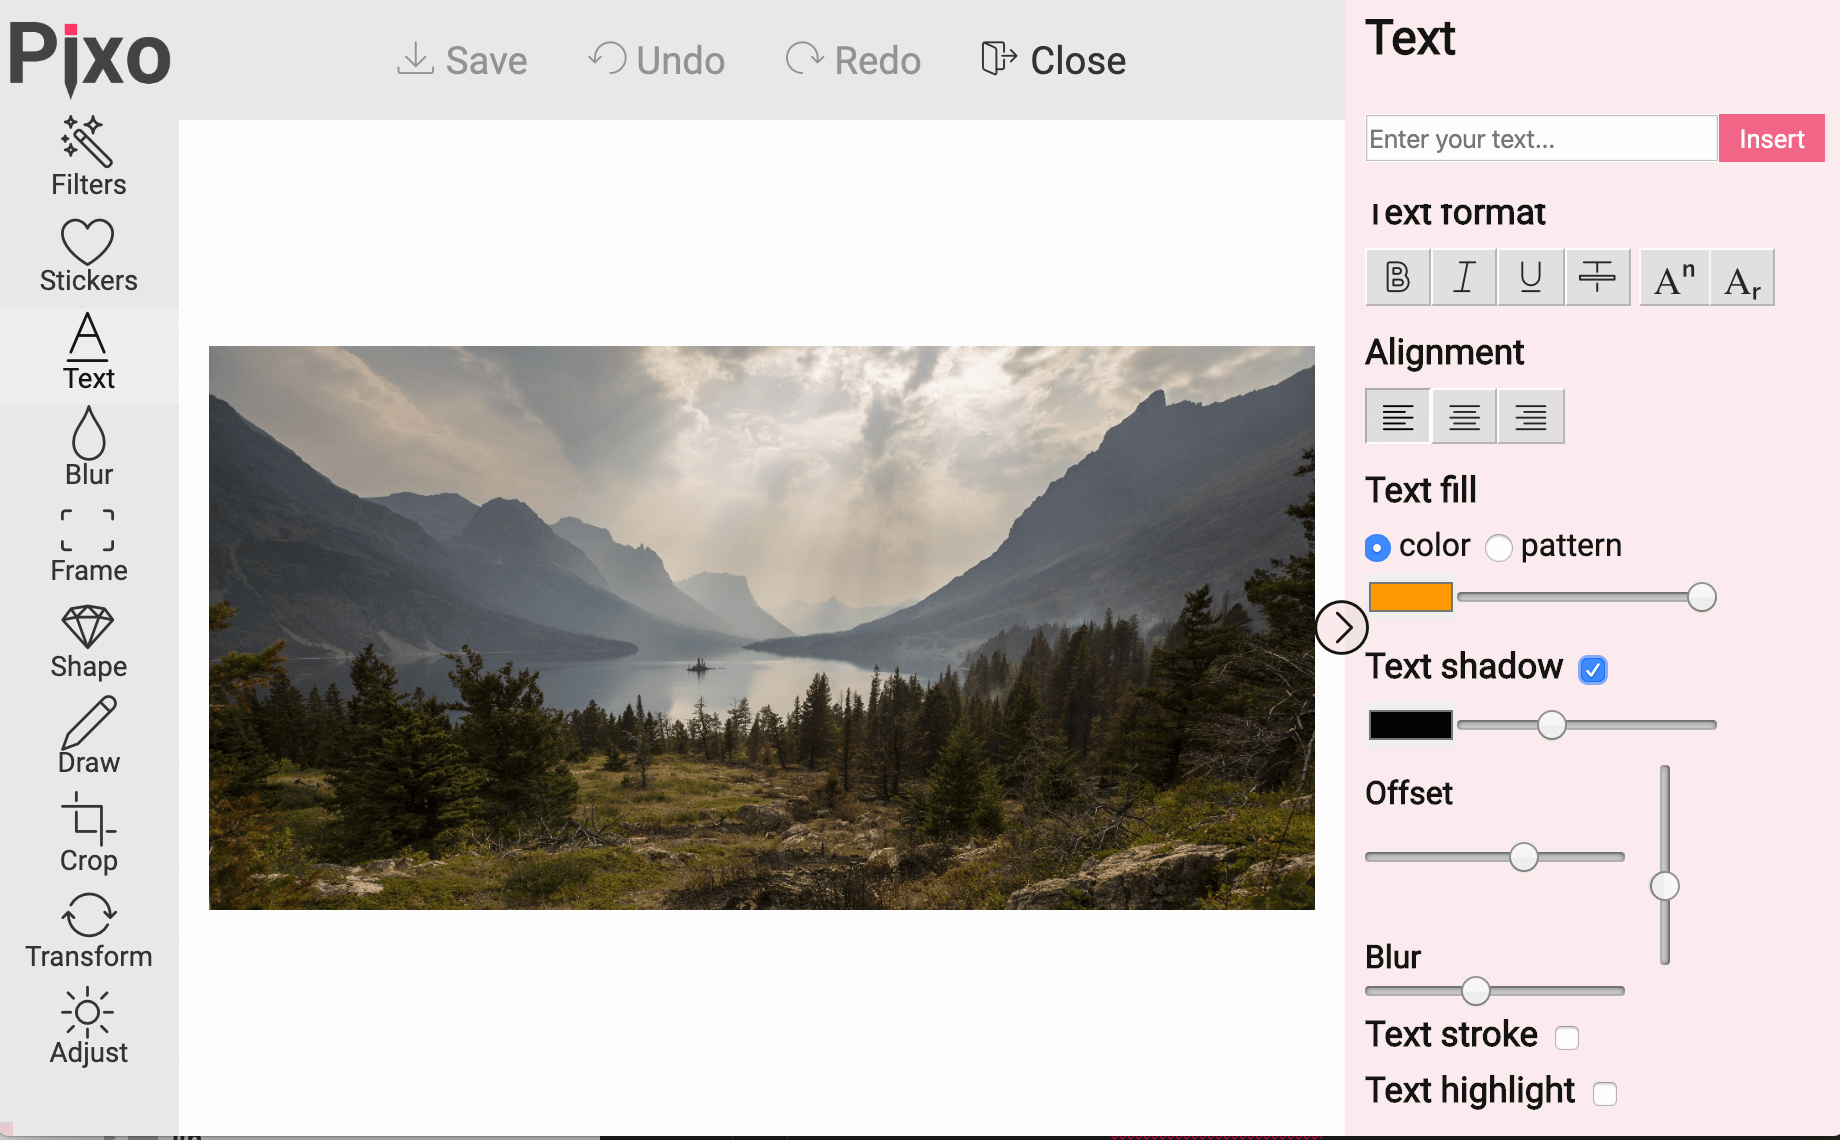
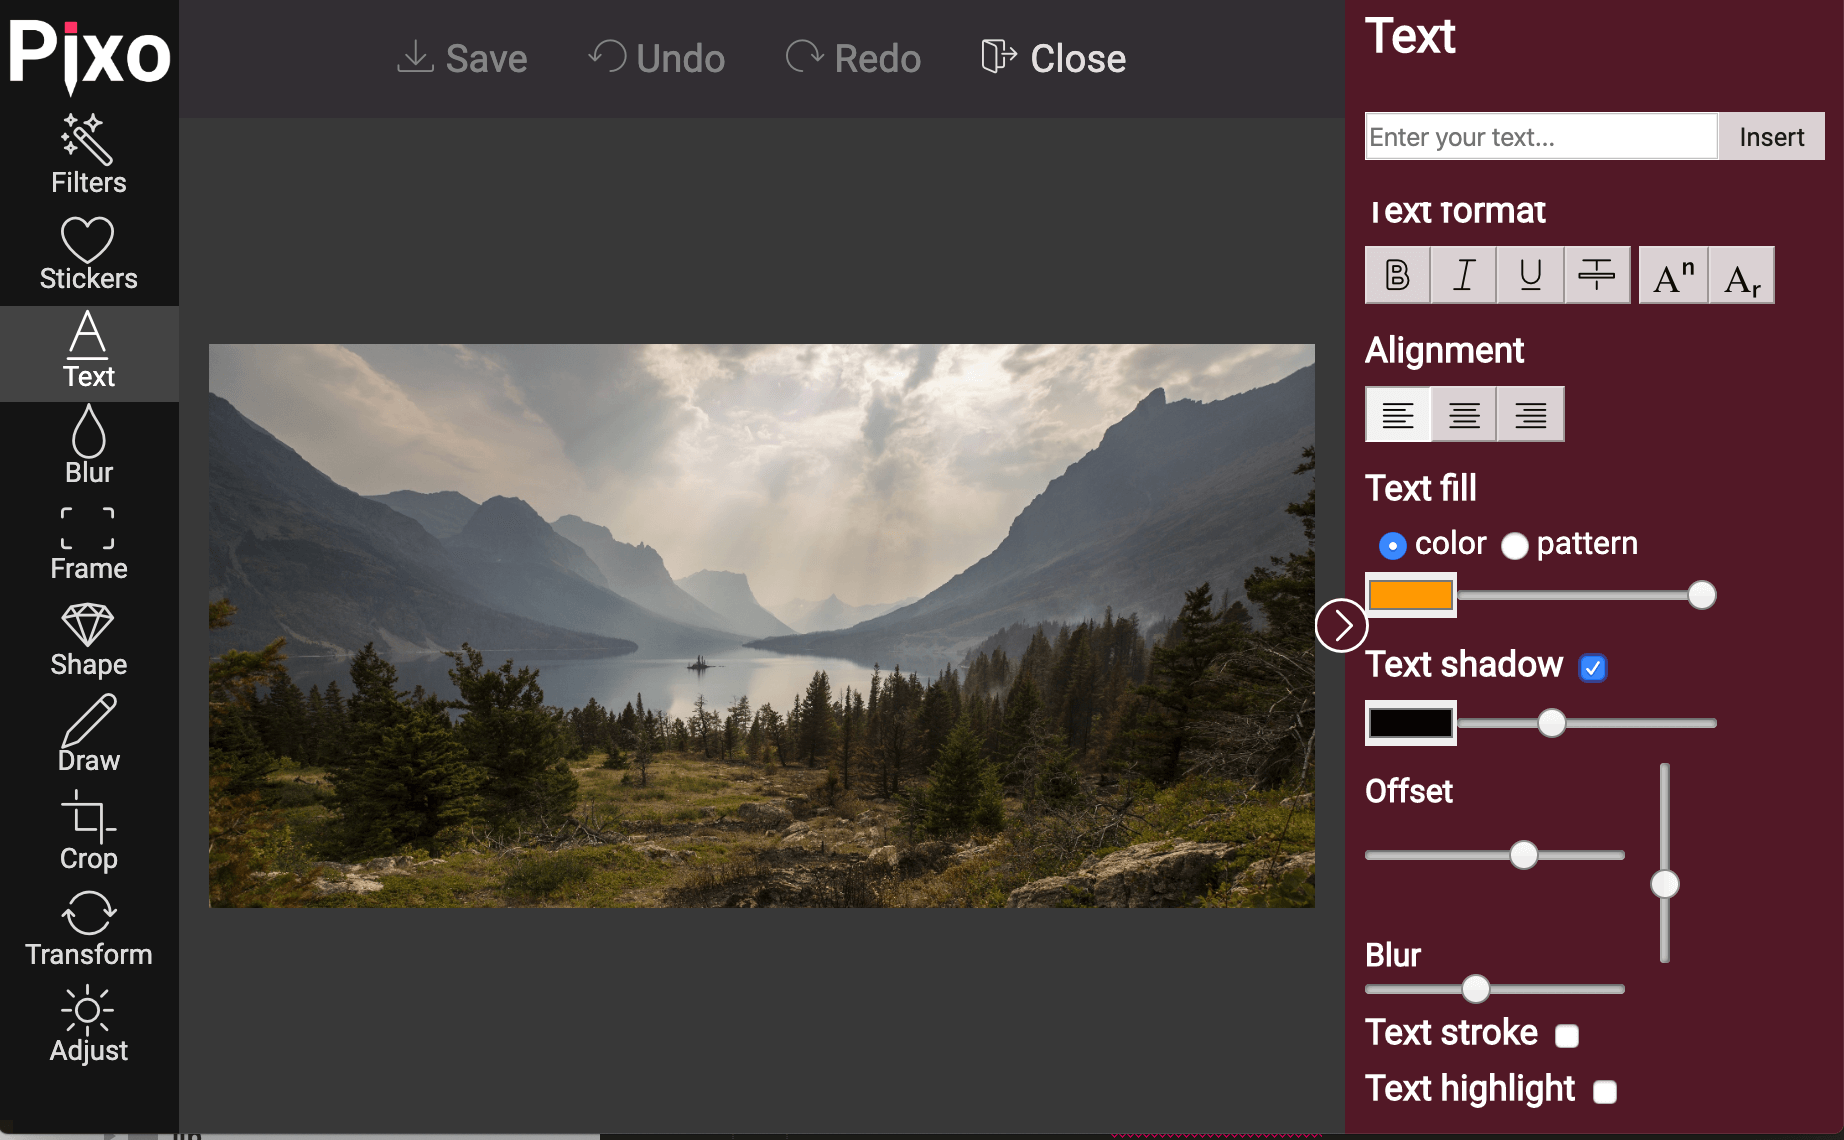
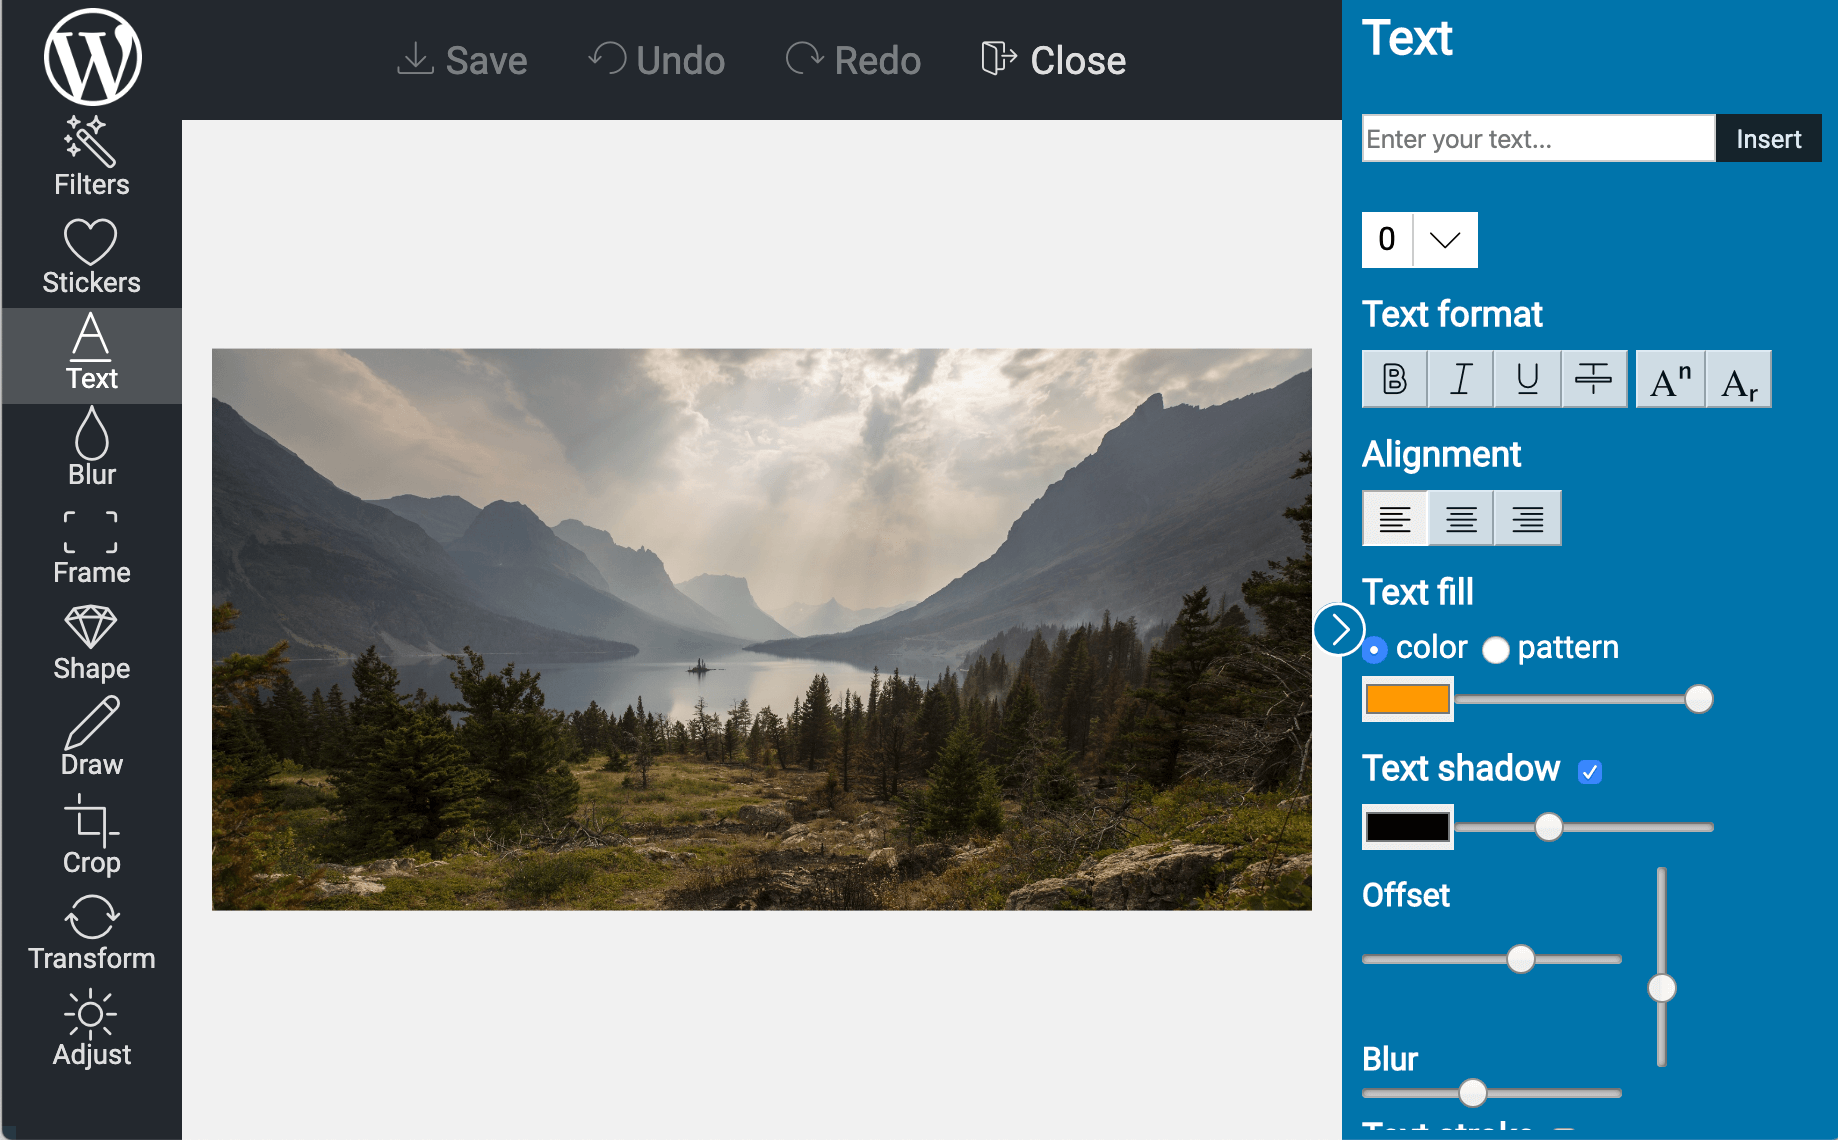
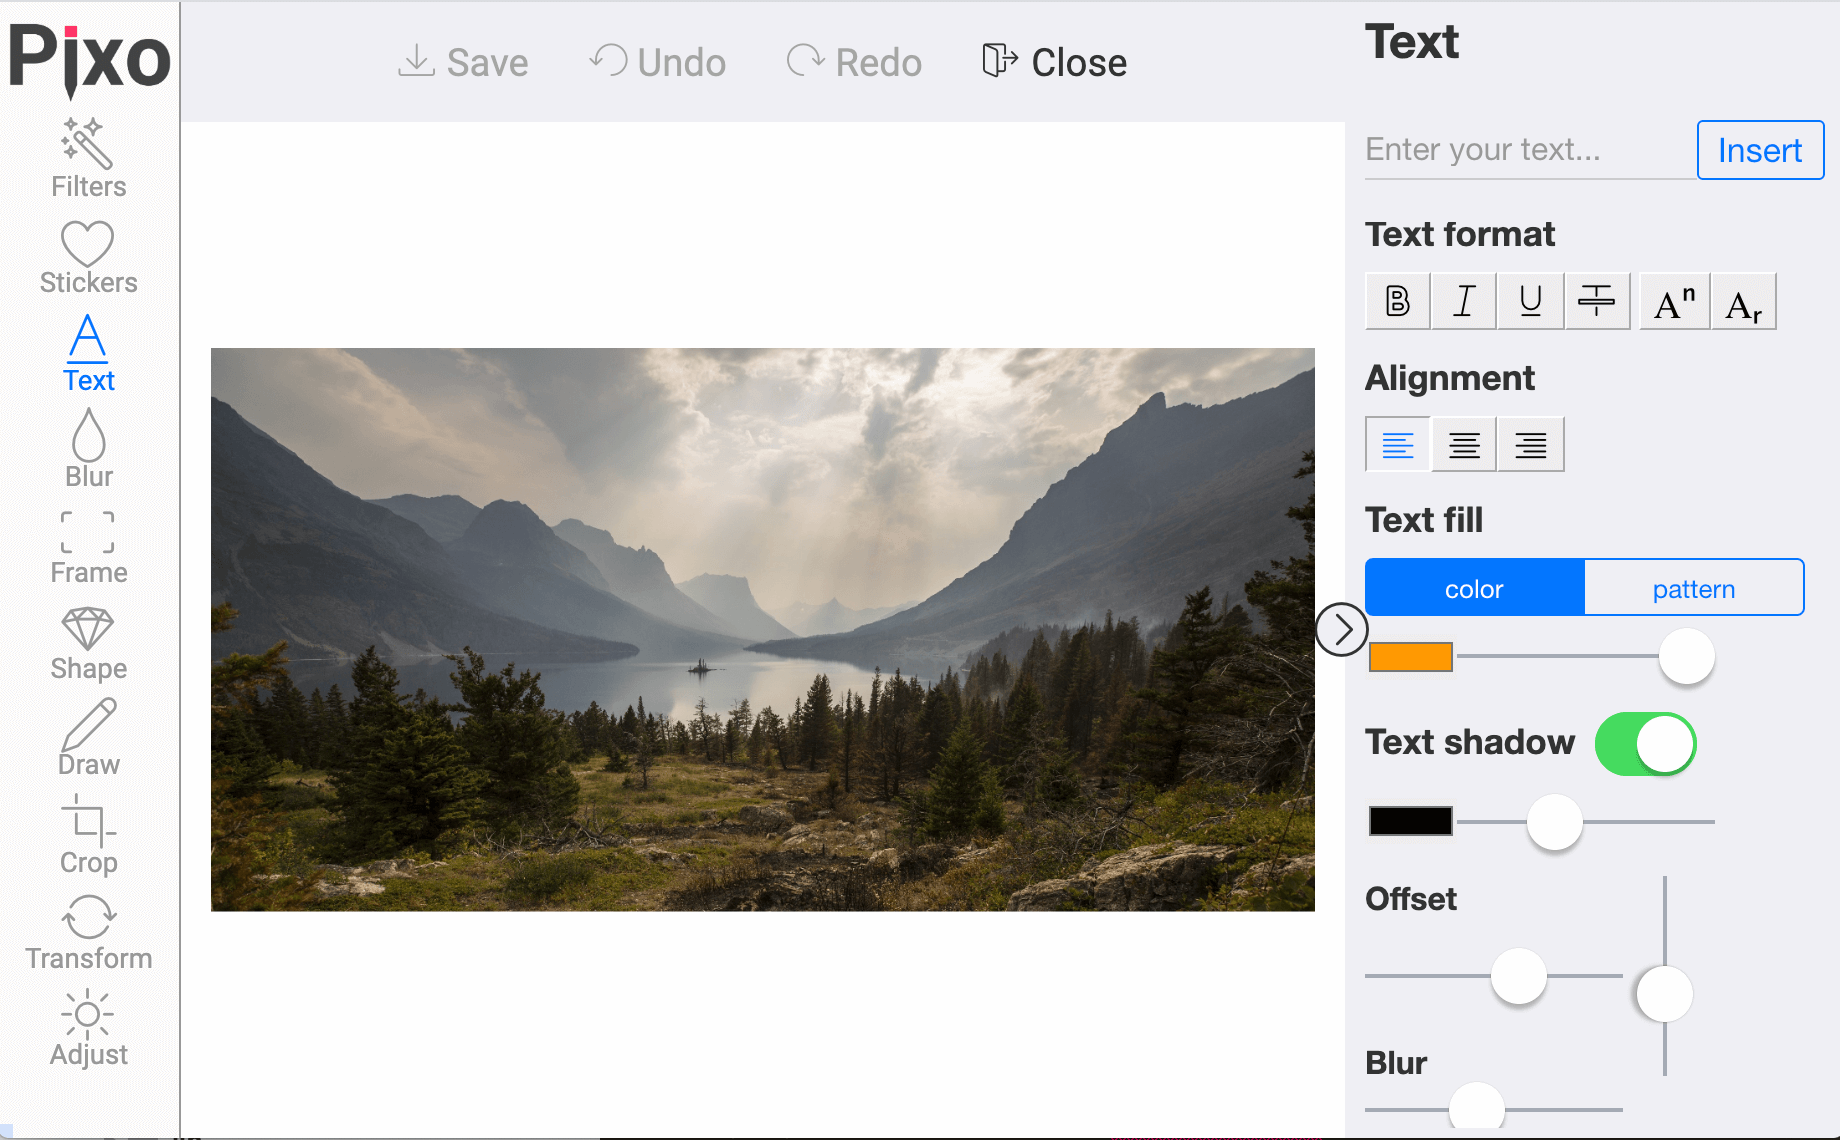
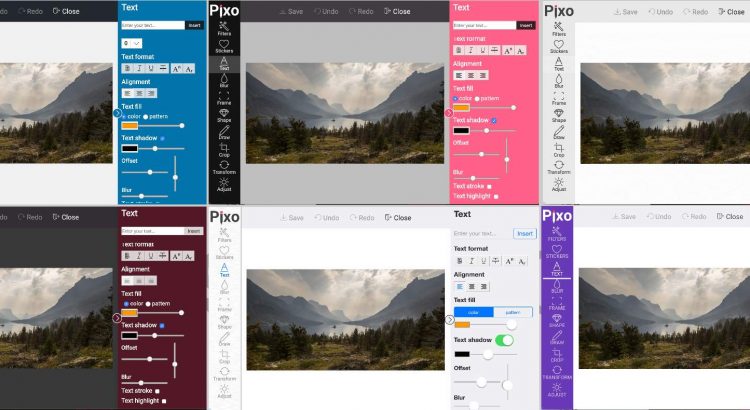
We are happy to finally announce the release of Pixo Themes, which are available from quite some time (as beta). These are pre-defined colors & styles which you can include with just a single line in your Pixo instances. Take a quick preview:

“Default”
“Light”
“Dark”
“WordPress”
“iOS” (premium)
“Android” (premium)

Together with the Default theme (the one that you are familiar pretty well with) there are also lighter and darker versions (Light and Dark).

There is a WordPress-style theme, suitable if you integrate Pixo in a WordPress site (BTW you may also check the Pixo WordPress plugin).

And yes, there are the iOS and Android themes, which make Pixo look more like native app!

How to use them

new Pixo.Bridge({
   theme: 'iOS', // Can be anything from the above, e.g. "WordPress", "Light", "Dark", "Android" 
});

iOS and Android are Premium themes and are not available in the FREE package.

Merry Christmas! Save up to 70%* on all packages

It is almost the end of the year. As usual, we added some Christmas-mood stickers to our stock collection, for your users. If you do not want them – you can remove them. Check the filterStickers API in the Documentation.

Save up to 70%* on all packages

It’s Christmas! And to do some good, we added discounts to all pre-paid packages. Check our Pricing section for more information.

Thank you for using Pixo! We wish you a Merry Christmas, and a happy New year!

* Discounts apply to all purchases made until Dec 31, 2019. Discounts apply to recurring payments for one year after the first payment. After that regular prices will be applied.


Compressing and optimizing saved images

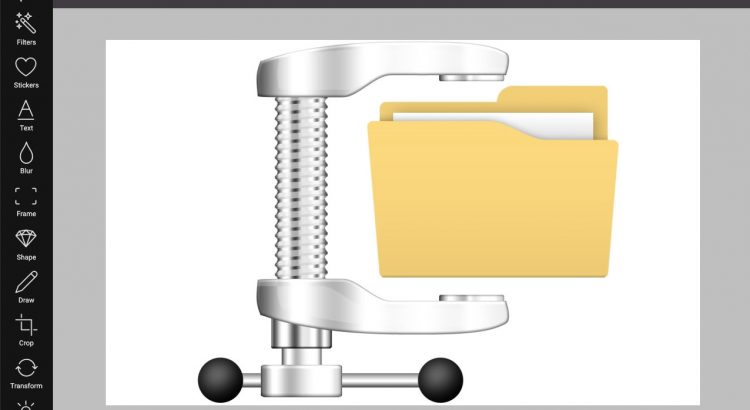
We all know how important it is to have a fast web these days. The usual bottleneck for slower websites and apps is the uncompressed images. Starting off today, Pixo offers great image compression to all exported images as a premium feature. With the help of TinyPNG, one of the best image compression services, you will have compressed images to the max without any visual quality loss.

Image compression is disabled by default. The reason is simple: compressing images takes time and results in slower image export. To enable it add the following configuration to your Pixo instances:

new Pixo.Bridge({
   apikey: 'yourapikey',
   output: {
      optimize: true,
   },
});

JPEG vs PNG

JPEG is proven as a very good image format resulting in high quality images with lowest possible kilobytes. But it has one major drawback – JPEG does not support transparency; PNG does – at the cost of too many kilobytes, or even megabytes.

Pixo has a great algorithm for detecting the best output format for the exported images in terms of higher quality and lower filesize. Unless you explicitly specify the desired image format of the output, this algorithm comes in action by default and chooses the best image format (JPEG or PNG) for the output image based on transparency, number of colors, gradients, and more.

Let us help you speed up the web!

With Pixo Premium you do not need to care more about image compression anymore!

Happy Thanksgiving!

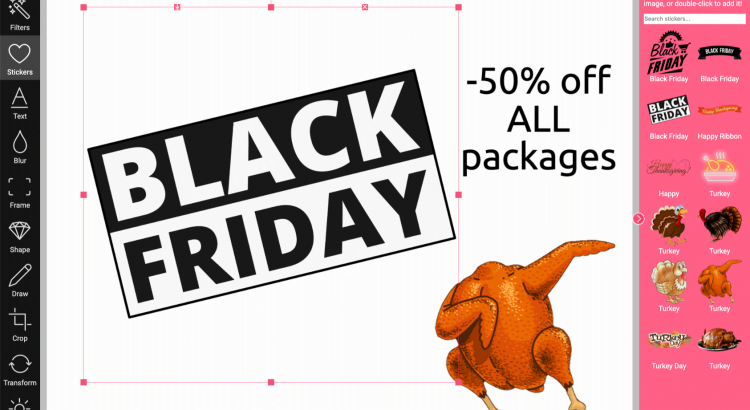
This week it’s Thanksgiving and Black Friday! Therefore:

  1. we deployed a thematic stickers pack
  2. we give you a special -50% discount on all packages!

Stickers

They are available in all plans, so enjoy!

If you do not want them, you may consider filtering them by using our filterStickers and filterFrames APIs.

Black Friday -50% OFF

When purchasing new plan, use this promo code:

BF2019

on the checkout page and this will give you -50% discount on all packages*. It can be combined with this November’s annual packages discounts, giving you a great price!

Use the code between Nov 25–29.

Happy Thanksgiving! Be good!

* Discount is applied only on the first subscription payment. Discount is not applied on recurring payments (subscription renewals).

Optimizing our response time

A few months ago we improved Pixo’s response time with smart routing. This optimizes routes across the network to deliver responses to your users more quickly, reliably, and securely. As a result, we got average speed improvement with almost 20%. You can see that yourself on our status page.

Speaking of status, you can observe Pixo’s status 24/7 on

status.pixoeditor.com

This report is hosted on a 3rd party servers, so in case you are having troubles accessing Pixo’s service or website, you can check the report. We are proud with our 100% uptime 🙂

Remember November! Get discounts up to 66% on all subscriptions!

It’s almost the end of the year! We are giving a huge discounts on each annual subscription!

  • Small annual package: $120/year $100/year, that makes $8.33/month
  • Medium annual package: $360/year $240/year, that makes $20/month
  • Small annual package: $1620/year $550/year, that makes $45.83/month

Promotion applies only on annual subscriptions and ends November 30, 2019.

Discounts are applied only on the first subscription payment. Discounts are not applied on recurring payments (subscription renewals).