loading

Pixo Image Editor

Update on recent changes

Hi folks,

Long time no hear… But we keep ourselves busy 🙂 Here’s a list with some recent improvements.

Improved loading

If you send to the editor url to image to be edited, the url’s domain should be either the same as your site, or should have CORS enabled. Pixo requires servers to serve images with CORS in order to be able to manipulate them. If you don’t have CORS, or don’t know what that is – don’t worry – we will proxy your image through our CORS proxies for you. Currently we have two proxies, and the fastest one (probably the closest to your customer) wins and loads the image. This leads to significant improvement in editor’s load time.

More proxies will be added soon, for even faster loading time!

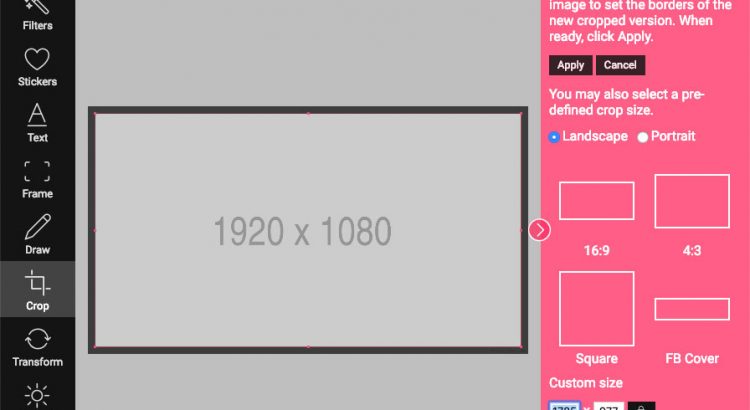
Custom crop size

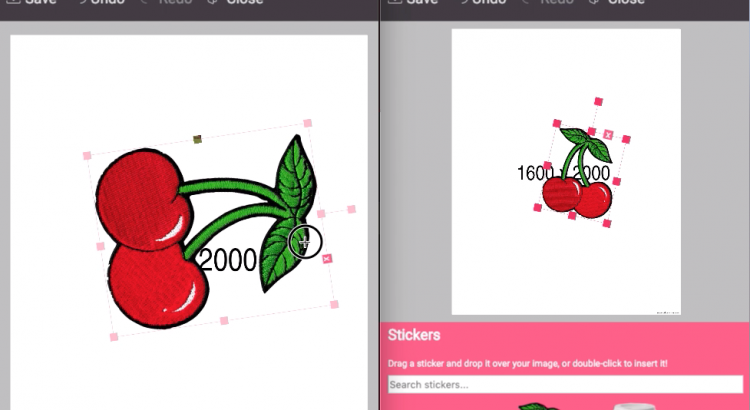
You asked for it, you got it – users can now specify crop size in px:

More customization styles

Together with the existing editor customization styles, you are now able to also configure:

  • editmenutextcolor (String) CSS color for edit menu icons and text
  • actionsmenutextcolor (String) CSS color for actions menu icons and text
  • propertiespaneltextcolor (String) CSS color for property panel text
  • buttonstextcolor (String) CSS color for property panel buttons text
  • buttonsbgcolor (String) CSS color for property panel buttons background

Example:

new Pixo.Bridge({
   styles: {
      editmenutextcolor: '#fc0',
      actionsmenutextcolor: '#cccccc',
      propertiespaneltextcolor: 'grey',
      // ...
   },
});

What’s next?

We are very close to the release of additional image filters. We are preparing a new collection of Instagram-like filters, to make your users happier. We expect to release them next week.

Stay tuned!

Configure your own custom image frames

Hi folks!

We’re glad to announce that you can now add custom image frames to your Pixo instances. To do that, provide a filterFrames function to editor’s configuration:

var my_frames = [
  {
     // This is the PNG image that will be used as frame. The larger size the better.
     // Required. The URL must be publicly accessible or CORS-friendly.
     src: 'https://yourdomain.com/path/to/image-frame.png',
     
     // This is the thumbnail image that will be shown in the property panel.
     // Optional. If missing "src" will be used.
     thumb: 'https://yourdomain.com/path/to/thumbnail-100x100.png',
     
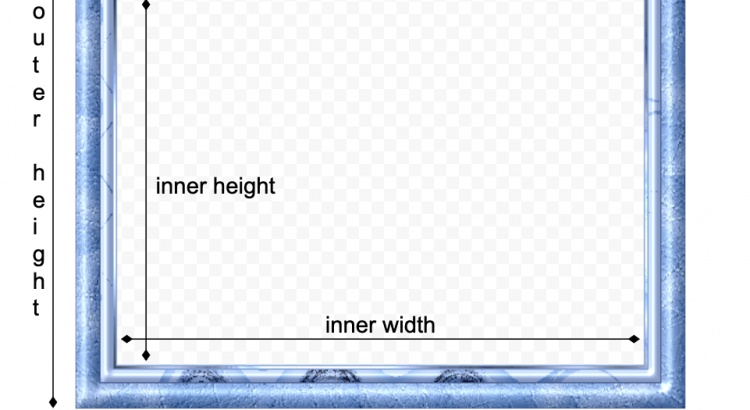
     // Outer and inner dimensions.
     // Required.
     dimensions: {
        outer: [1920, 1080],
        inner: [1660, 880],
     },

     treshold: .3,
  },
  {
     src: 'https://yourdomain.com/path/to/large-image.png',
     thumb: 'https://yourdomain.com/path/to/thumbnail-100x100.png',
     dimensions: {
        outer: [1920, 1080],
        inner: [1660, 880],
     },
  },
]; 

var pixo_instance = new Pixo.Bridge({
  apikey: 'abc123xyz000',
  filterFrames: function(stock_frames){
     // replace stock frames with your own
     return my_frames;
     // or, merge them and place your at the top
     return my_frames.concat(stock_frames);
     // or, merge them and place your at the bottom
     return stock_frames.concat(my_frames);
     // or, mix them randomly
     return stock_frames.concat(my_frames).sort(function(){
        return Math.random() - 0.5;
     });
  },
});

Make sure that you follow our frame guidelines when designing and configuring your custom image frames.

Happy coding!

Pixo is now available in French!

Hi folks,

Our first translation in different language is already available! It is French (fr-FR). If you need Pixo translated to French, set the appropriate language:

new Pixo.Bridge({
   language: 'fr-FR',
});

Special thanks to Wallprint for translating.

If you want Pixo translated in your language, you can help!

Help us internationalize Pixo

Hi folks,

Pixo is used worldwide, and it will be great if it can be translated into multiple languages. That’s why we added ability to configure the editor in specific language. However, we lack of translations. Therefore, we kindly ask you to help us translate it.

How to help

  1. Download sample JSON translation file
  2. Rename the file according to IETF standard
  3. Add the translations
  4. Send us the translated file to admin (at) pixoeditor.com

New feature: Image Frame

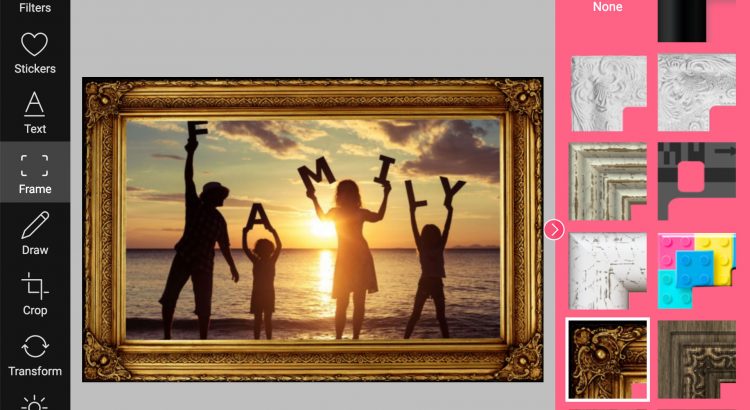
Today we released a new functionality – ability to add image into a frame. There are a couple of stock frames to choose from, and more are about to come soon. You can see this new feature in action in our demo.

Why I don’t see the frames in my Pixo instance?

Frames are not enabled by default yet. To do this, you will have to enable them in the feature set like this:

      new Pixo.Bridge({
         features: [
            //enable the new Image Frame feature
            'frame',
            //you have to enable other available features
            'adjustments',
            'filters',
            'draw',
            'crop',
            'stickers',
            'text',
            'transform', 
         ],
      });

Frames are available but not enabled by default yet. As usual, we are giving you a transition period to update your configuration and to choose whether you want this new feature or not. After two weeks Frame feature will be enabled by default.

Enabling/disabling features

You asked for it – you got it. With this release, you can now include only the features you want and customize your editor. The new features configuration is array of feature IDs. Current list of features includes:

  • adjustments
  • filters
  • draw
  • crop
  • stickers
  • text
  • transform
  • frame

As array, you are also able to set the order of the features in the Edit menu.

If you want to include all available features, but exclude specific, the features configuration should be an object having excluded property (array):

      new Pixo.Bridge({
         //enable all available features except the advanced adjustments:
         features: {
            excluded: [ 'adjustments' ], 
         },
      });

What’s next

Alongside with current roadmap, soon we will provide API for configuring your own image frames. We are also working on translating Pixo Editor into multiple languages. Stay up to date by following our blog and/or keep subscribed for our newsletter.


Improved Property panel

Hi,

At Pixo we’re constantly working on improving Editor’s user experience in parallel with the new features and extensions. It is very important for us to know that your users (a.k.a. our end users) are happy with it and use it with ease. Therefore, from time to time we organize groups of people and observe them how they interact with Pixo. We learn a lot from these tests.

A result of such tests is our improved property panel. Here’s what we did.

Sticky panel title, description and filter form

We decided to make these sticky when there is a large content in the property panel and there is the need of a scroll. For instance the Stickers panel – there are many stickers, users may scroll, but in case they wanted to apply some filtering previously they had to scroll up to reach the filter form. We fixed that.
Collapsible property panel

Some testers complained that the canvas is too small because of the always expanded property panel. These users were testing Pixo mostly on smartphones, but not only. We decided to make the property panel collapsible and allow users to collapse it when they need more space for the image, and expand it back when they need to set properties.
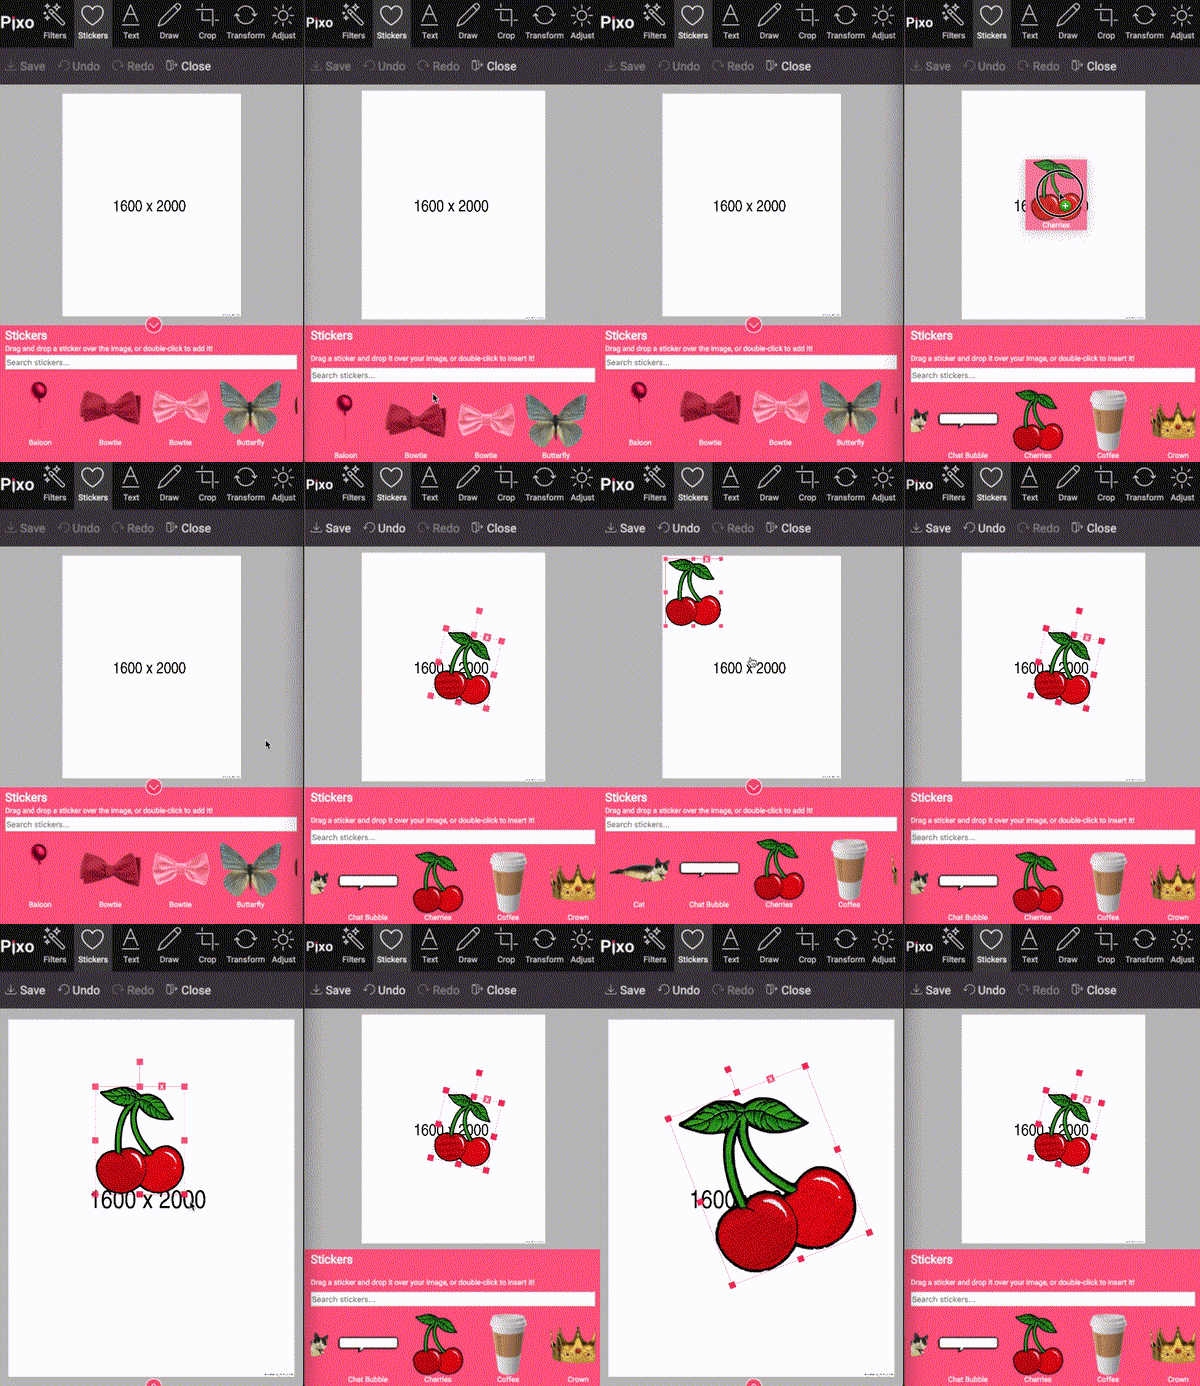
Property panel is now collapsed by default

Some users were waiting a lot of time before they realize that they can start editing instantly, because the right panel was open by default, and …empty. They said that they were expecting something to load inside. So we decided to initially hide the property panel, so users don’t get confused.

We care about your use cases

Since Pixo is very flexible for integrating, there are many use cases. In some of them the collapsible panel may not be desired. So we decided to make this configurable. By default, the property panel is not collapsible, and will be expanded by default. In order to take advantage of these improvements, add the following configuration:

      var editor = new Pixo.Bridge({
         apikey: 'abc123xyz000',
         type: 'modal',
         propertypanel: {
            collapsible: true,
            collapsed: true,
         },
      });

This will make the property panel collapsible, and it will be collapsed by default.

But we are going to change the default behavior

We believe that these improvements are for good, and we are eager to make this change ASAP, for the end users.

Still, we are giving you a transition period

You don’t like these improvements? Then add the following configuration to Pixo’s instances, and you’re all set!

      var editor = new Pixo.Bridge({
         apikey: 'abc123xyz000',
         type: 'modal',
         propertypanel: {
            collapsible: false,
            collapsed: false,
         },
      });

After two weeks, starting off today, we will make the new behavior default.

We hope that you will like the changes and keep with them!

Check out our demo to see the new changes in action!

Improved image crop

Hi,

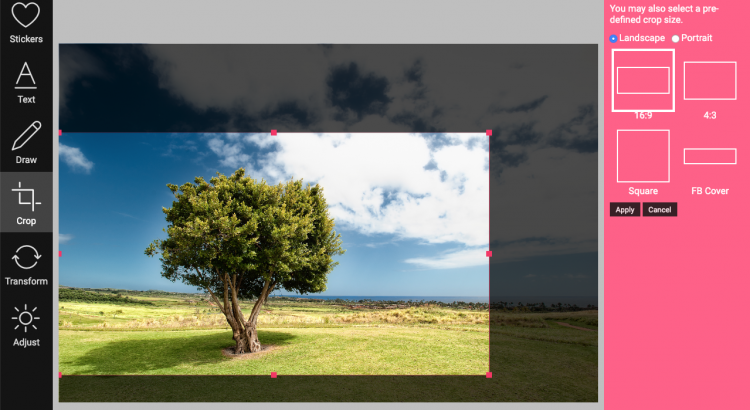
We just improved our crop functionality. It now has a better look and most important – we introduced pre-defined crop ratios, such as:

  • 16:9
  • 4:3
  • Square
  • Facebook Cover

Wanna have more crop ratio presets?

Shoot us an email 🙂

Subscribe for our Newsletter!

Hi folks! Happy new Year to all of you! Our team wish you the best in 2019, more users and less bugs 😉

Did you see the new Profile section in the Control Panel? If not, then give it a try. You will find a form there where you can subscribe for our newsletter. The newsletter will be sent only when we have something to tell you  – new releases, features, or important changes.

For those of you who are not yet registered – there is a checkbox for newsletter subscription in the registration form. So what are you waiting for – register now 😉

Note: If you are Gmail user – keep an eye to the Promotions tab. We do our best to deliver our newsletter into the Primary tab, but unfortunately this is something we don’t have full control of. In case you get our newsletter in the Promotions tab and you want it into the Primary, please ensure the following:

  • add [email protected] to your Address book;
  • move the newsletter to the Primary tab manually.

You don’t have to subscribe though. We’ll be always posting important stuff here in the blog, and if you are a good old RSS user – keeping track of our RSS feed will be enough for you to get informed.

IMPORTANT: Testing Pixo integration locally

When you are integrating Pixo into your product, you’ll want to test it first before it goes to production. There is a catch you need to know when you test with locally hosted images.

Editing remote images with Pixo

When you open Pixo with image url, it is very important that the image url:

  • belongs to the same domain or
  • is publicly accessible from the Internet

If none of the above are true, most probably you’re testing with images hosted on your local machine, or intranet. In this situation, make sure that your local or intranet server has CORS enabled. Otherwise image won’t be shown.

More on CORS

Having issues with Pixo integration?

Do not hesitate to contact us!